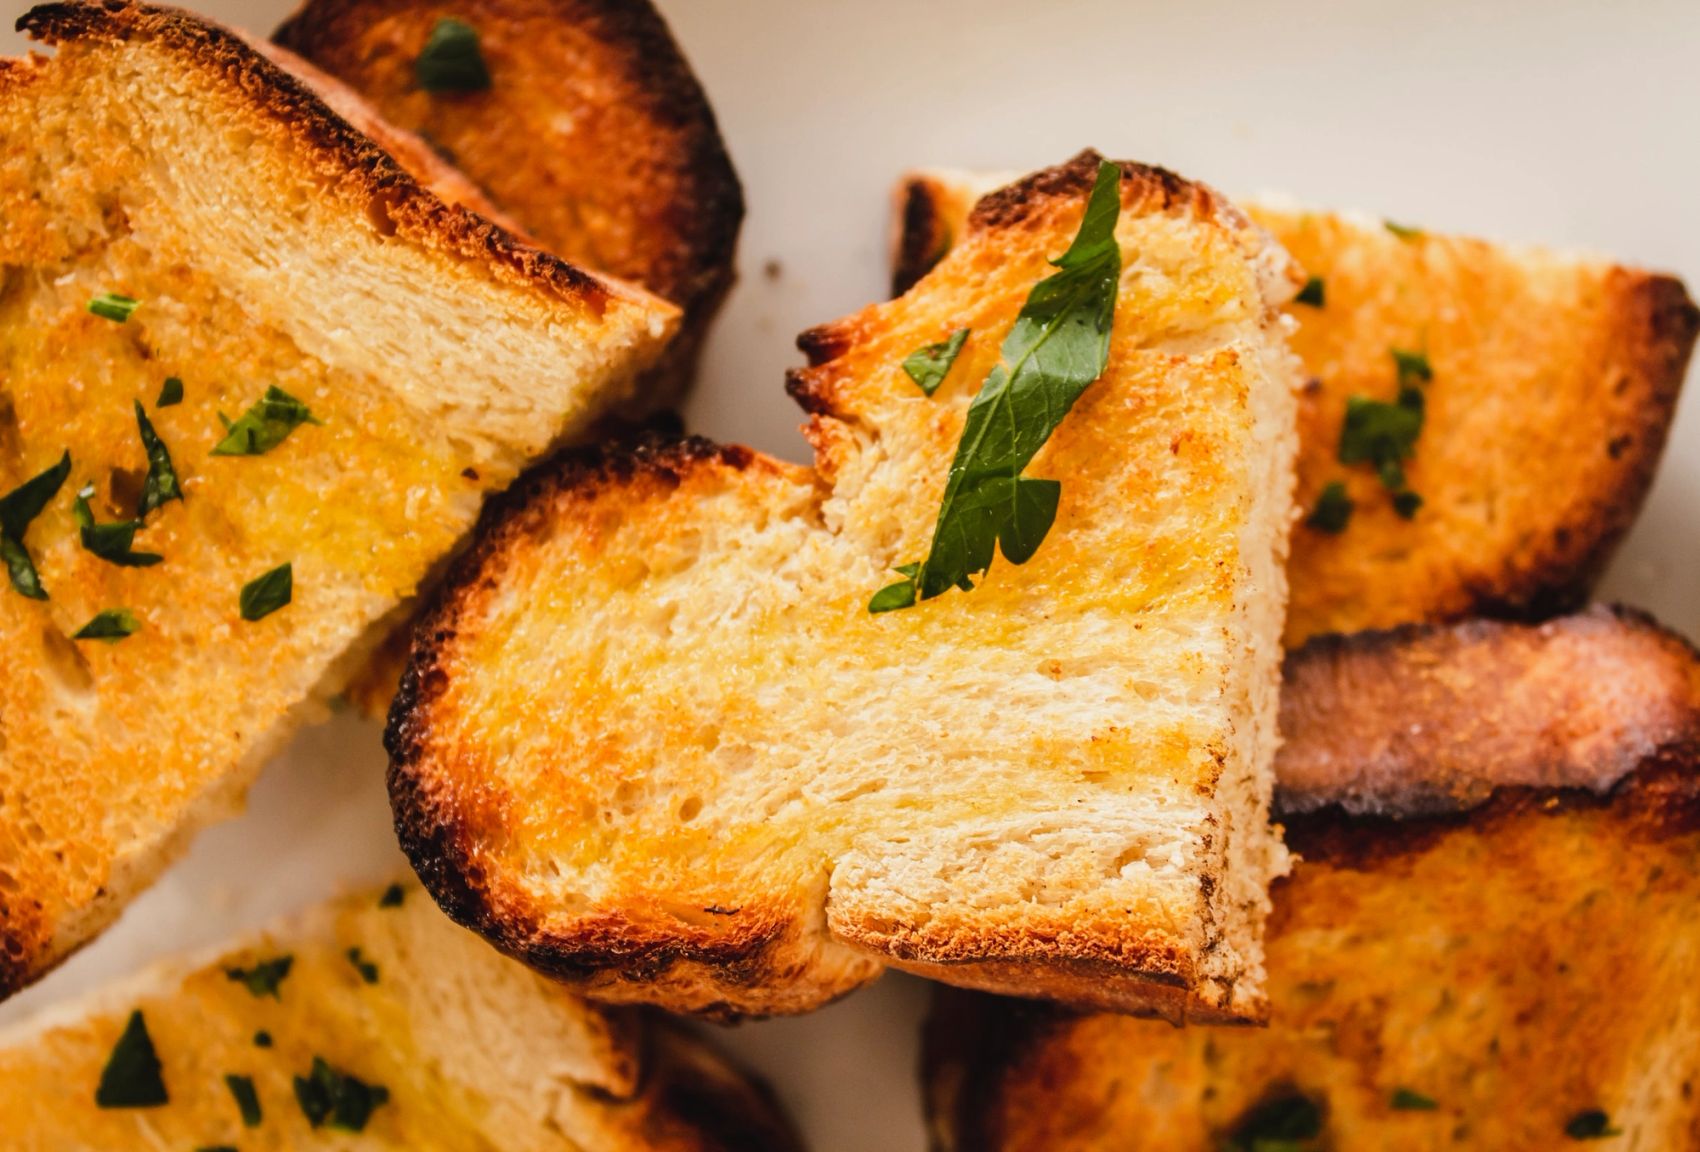
Toasts are great, so simple but yet so useful. It is for many a part of their daily life, which is why we will today provide one of the quickest and simplest recipes for making toast. Let's dive in.
The ingredients
The following ingredients are needed:
- Context API
- Hooks
I would like to clarify that we are going to build a toast notification system using the context api and hooks from react just to avoid any confusion. These are relatively new tools which makes life a whole lot easier when working with both small-scale and especially large-scale code. A very brief explanation of each tool is:
Context API - A state management system that fixes many problems or annoyances that comes with handling different components state. The most basic approach for managing state is that each component uses React.setState(..) to handle its own internal state. But this can get messy real quick which is why tools such as e.g Redux are used, but these tools are not perfect either. This is where the Context Api comes in, trying to make these imperfections a bit better just to ease state management a little more.
Hooks - React hooks are basically functions that lets the user build functional components that can implement state and lifecycle features that were previously only available to components created by React.createComponent(). There are however some 'issues' with components created by React.createComponent(), e.g that its hard to reuse logic in the lifecycle functions. This is why, long story short, hooks came about.
Recipe preparation
To get started one can for example use create-react-app (CRA) to quickly get going. More information about CRA can be found in the links below. The boilerplate code that gets rendered is:
function App() {
  return (
    //Boilerplate stuff, everything here gets rendered
  )
}
The goal is to make App() render toasts whenever needed, and for this we need two things:
- A function that returns a toast.
- A state where toasts can be saved and managed.
For the sake of simplicity, the function that returns a toast will be as simple as:
function ToastBody() {
  return <div className="....">I am a toast</div>;
}
First we create the context:
const ToastContext = createContext();The context works by having Providers and Consumers. The Provider shares its values with its children, which are called Consumers, without explicitly having to send them down as props. Consider the following:
const ToastProvider = (props) => {
  // This is the value that gets sent down to the children/consumers
  const value = ...
  return (
    <ToastContext.Provider value={value} >
      {props.children}
    </ToastContext.Provider>
  );
}
The idea here is that we can wrap any component with the ToastContext.Provider and get whatever is passed through the value-prop. Neat, huh?
For the toast notification system, we need to able to store things in a state but also handle the state with different types of actions. In this case, an action can be e.g adding a notification to the state or removing one. This is where we can use the useReducer-hook.
const toastReducer = (state, action) => {
  const { payload, type } = action;
  switch (type) {
    case "ADD_TOAST":
      return [...state, payload];
    case "REMOVE_TOAST":
      return state.filter((toast) => payload.id !== toast.id);
    default:
      return [...state];
  }
};
Now we have a state manager where we can from any state either append a toast notification or remove a specific one by the 'ADD_TOAST' and the 'REMOVE_TOAST' actions. Making use of the reducer in the ToastContext.Provider gives us a working toast notification system and should look something like this:
const ToastProvider = (props) => {
  const reducer = useReducer(toastReducer, []);
  return (
    <ToastContext.Provider value={reducer}>
      {props.children}
    </ToastContext.Provider>
  );
};
All that's left is having some visual logic for dispatching actions and viewing the toasts.
Putting the pieces together
The last step consists of putting everything together. By using the useContext-hook in components, we make them Consumers and thus they get access to both the state of the toast notification system and to the dispatch function of the nearest Provider. The final result can look something like this:
import React, { useContext } from 'react'
import { ToastContext, ToastProvider } from './Toast'

function App() {
  return (
    <div className="App">
      <ToastProvider>
        <MainPageStuff />
        <ToastContainer />
      </ToastProvider>
    </div>
  );
}

function MainPageStuff() {
  const [,dispatch] = useContext(ToastContext)
  return (
          <header className="...">
            ....
            <button onClick={ () => dispatch({type: 'ADD_TOAST', payload: {id:Math.random()}})} className="...">Add a Toast!</button>
          </header>
        )

function ToastContainer() {
  const [toasts, dispatch] = useContext(ToastContext)
  return (
    <div className="...">
      {toasts.map((toast) => <ToastBody id={toast.id} key={toast.id} dispatch={dispatch}/>)}
    </div>
  )
}

function ToastBody({id, dispatch}) {
  return (
    <div onClick={() => dispatch({type: 'REMOVE_TOAST', payload:{ id }})}  className="...">
      i am a toast. click to remove me.
    </div>
  )
}
Voila! As seen in the App()-function we do not need to send down any props to the children component, instead they can extract everything needed using the useContext-hook. This was a short introduction to hooks and the context api, and how they can be used together to create a toast notification system.
A very simple working example can be found below. For more information on this topic, please visit the given links further down. Have a good day!