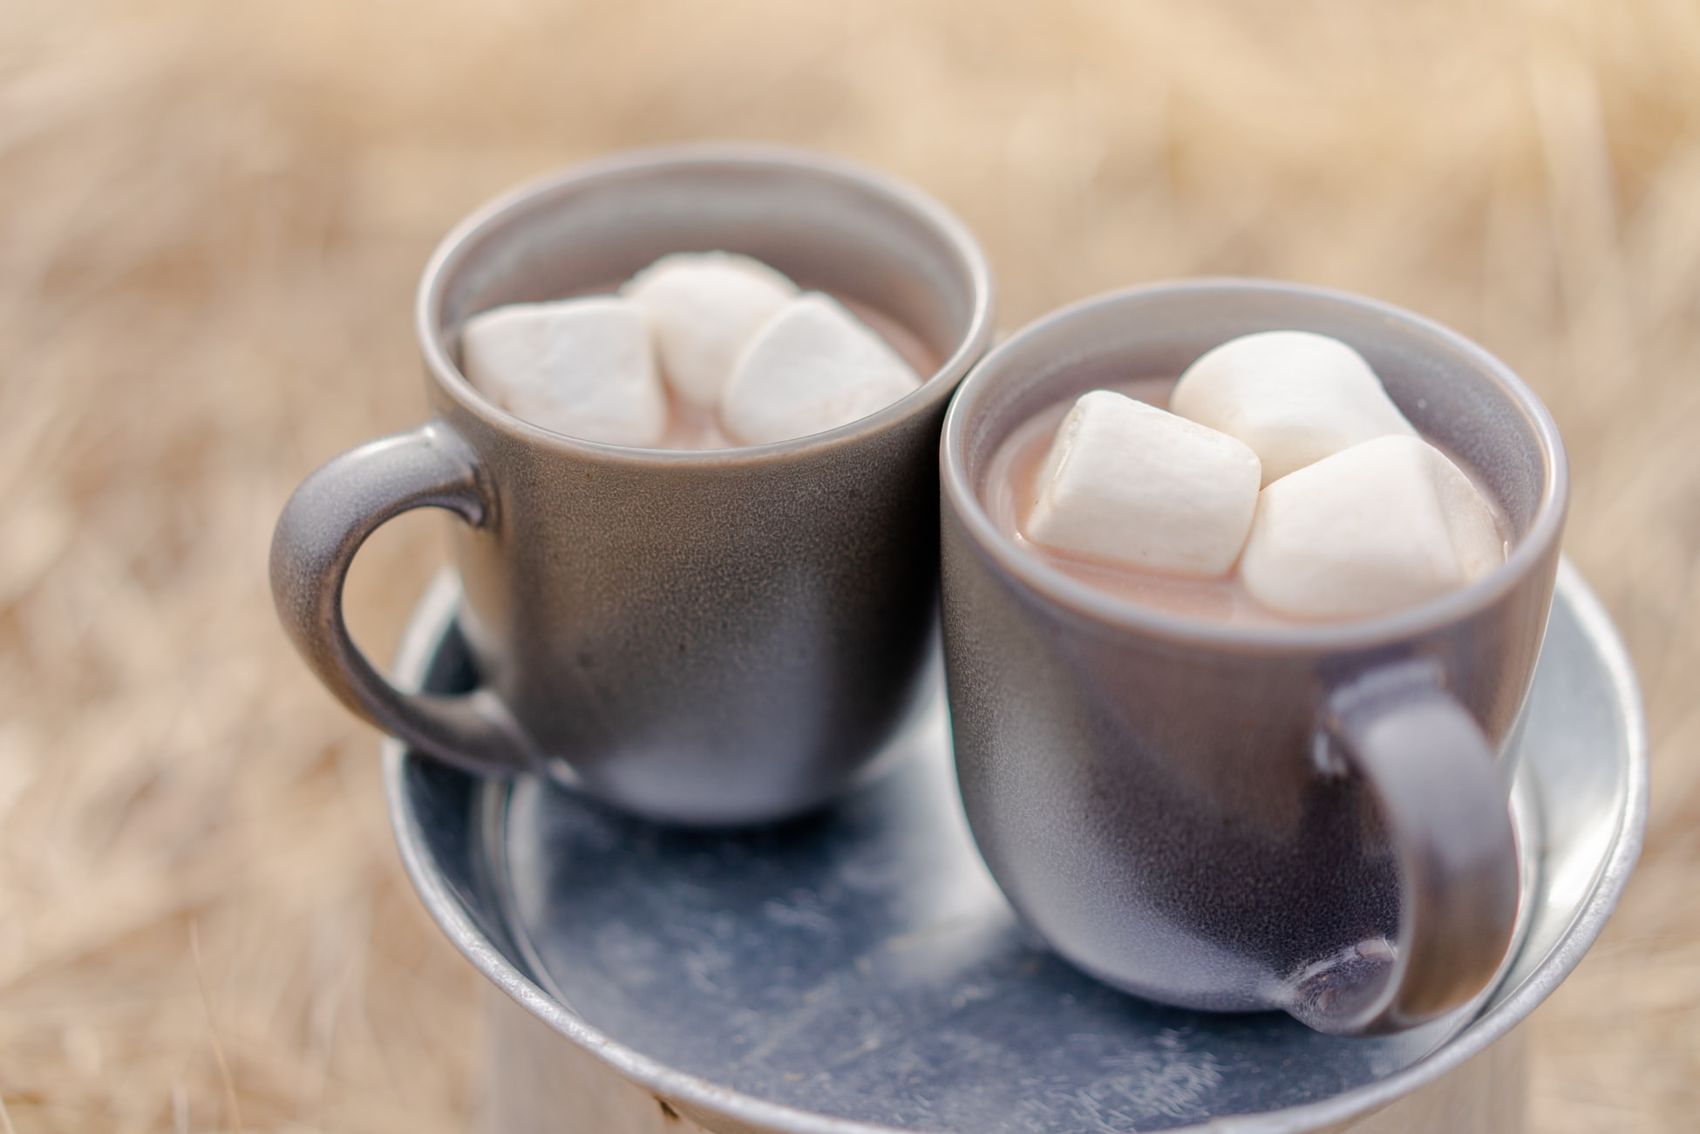
For the last decade I've called Oslo my home. And aside from the usual goals of getting an education, landing a job and living my life, I've had a side quest: Finding the best places for hot chocolate in town.

Now before I go any further, I want to make it absolutely clear that this post is not sponsored by anyone. It's simply the culmination of my love for hot chocolate. And programming.
My criteria for good hot chocolate:
- Must have the right consistency and creaminess, not too watery
- Must not be too sweet
- Any toppings is simply a bonus, but will not make my list by itself. It's all about that base.
- I must like it
But before I present my top three list, let's make the React Leaflet map.
Setup
This will be a React project written in TypeScript, requiring Node version 10 or up and NPM version 5.2.0 or higher (since we’ll be using npx). I'll be using create-react-app to set up our barebones React app, and will add the flag --template typescript to make it Typescript-based:
npx create-react-app hot-chocolate-map --template typescript
We'll also need some NPM packages, so navigate into our newly created application folder and add them:
cd hot-chocolate-map && npm install leaflet react-leaflet @types/react @types/leaflet --save
My personal preference is to make some additional folders in our project structure. A components folder for our React components and a domain folder for any custom TypeScript types. Did you know you can make multiple new folders by typing in multiple folder names to mkdir?
mkdir src/components src/domain
Run the application with npm run start and let's begin programming! The barebones React app should open in a new browser window.
The map basics
We'll start by making our map component FavoritesMap.tsx inside the components folder. I'll add the basic setup for our React Leaflet map here, as well as the imports we’ll need later.
import L, { LatLngExpression } from "leaflet";
import "leaflet/dist/leaflet.css";
import { MapContainer, Marker, TileLayer, Popup } from "react-leaflet";
import React from "react";
export default function FavoritesMap() {
// Default coordinates set to Oslo central station
const position: LatLngExpression = [59.91174337077401, 10.750425582038146];
const zoom: number = 15;
return (
<MapContainer center={position} zoom={zoom} scrollWheelZoom={false}>
<TileLayer
attribution="© <a href='http://osm.org/copyright'>OpenStreetMap</a> contributors"
url="https://{s}.tile.openstreetmap.org/{z}/{x}/{y}.png"
/>
{
// Placeholder, we'll put our markers here
}
</MapContainer>
);
}Let's also simplify App.tsx, our app's starting point, and include our FavoritesMap component:
import React from "react";
import "./App.css";
import FavoritesMap from "./components/FavoritesMap";

function App() {
  return (
    <div className="App">
      <h1>Top 3 hot chocolate locations in Oslo</h1>
      <FavoritesMap />
    </div>
  );
}

export default App;
Now we get to the part that always trips me up. Always. Because in theory, this should be everything required to make a basic map, right? Wrong. The Leaflet map needs a set height in order to display correctly. So let's append that to App.css:
.leaflet-container {
  height: 380px;
}
Huzzah! We have an empty map!
The hot chocolate favorites
Let's have a look at my list of favorite hot chocolate places, how to describe them as a TypeScript type and add them as markers on our map. These are all product names in Norwegian, with an English translation in parentheses.
- 🥇Varm belgisk sjokolade (Belgian hot chocolate) at Steam kaffebar
- 🥈Varm sjokolade (Hot chocolate) at Kaffebrenneriet
- 🥉Sjokolade på pinne (Hot chocolate on a stick) at Espresso House
Both Kaffebrenneriet and Espresso House have multiple coffee shops in Oslo. I've added ones close to Steam kaffebar for convenience. Please note, given the current situation I haven't visited these shops recently. Some menus may have changed.
Onto the TypeScript type. Per item we have a product name in Norwegian, a product name in English, a vendor, a location and (since we'll display it on a map) latitude and longitude. Let's also add a description and make it an optional field.
Create a new file domain.ts inside our domain folder and add the following HotChocolate type definition:
export interface HotChocolate {
  productName: string;
  englishProductName: string;
  vendor: string;
  location: string;
  lat: number;
  lon: number;
  description?: string;
}
Import the type HotChocolate in our FavoritesMap component.
import { HotChocolate } from "../domain/domain";
Now we can add our hard coded list to FavoritesMap:
const list: HotChocolate[] = [
  {
    productName: "Varm belgisk sjokolade",
    englishProductName: "Belgian hot chocolate",
    vendor: "Steam kaffebar",
    location: "Jernbanetorget 1, Østbanehallen",
    lat: 59.91088362120013,
    lon: 10.752799203777597,
  },
  {
    productName: "Varm sjokolade",
    englishProductName: "Hot chocolate",
    vendor: "Kaffebrenneriet",
    location: "Karl Johans gate 7, Arkaden",
    lat: 59.91181003626315,
    lon: 10.747782602301388,
  },
  {
    productName: "Sjokolade på pinne",
    englishProductName: "Hot chocolate on a stick",
    vendor: "Espresso House",
    location: "Jernbanetorget 1, Østbanehallen",
    lat: 59.91201090441835,
    lon: 10.751298468298101,
    description: "Seasonally available",
  },
];
Loop through these HotChocolate items and make markers. Replace the marker placeholder in the MapContainer with the finished marker list.
{
  list.map((item, index) => (
    <Marker
      icon={icon}
      key={index}
      position={[item.lat, item.lon]}
      title={`${item.englishProductName} at ${item.vendor}`}
    >
      <Popup>
        <strong>
          {item.englishProductName} at {item.vendor}
        </strong>
        <br />
        <p>
          Look for <strong>{item.productName}</strong> on the menu.
        </p>
        <p>{item.location}</p>
        {item.description && <em>{item.description}</em>}
      </Popup>
    </Marker>
  ));
}
For extra holiday coziness, "koselig" as we say in Norwegian, I've added a custom marker icon to the markers we just made:
const icon: L.DivIcon = L.divIcon({
  className: "hot-chocolate-icon",
  iconSize: [30, 30],
  iconAnchor: [0, 0],
  popupAnchor: [15, 0],
});
And the CSS for the icon in App.css:
.hot-chocolate-icon {
  background: white;
  border-radius: 50%;
  box-shadow: 0px 0px 10px black;
}

.hot-chocolate-icon:after {
  display: block;
  width: 30px;
  height: 30px;
  content: "☕";
  font-size: 20px;
}
And then we're done. Let's look at our finished map.
End notes
In the spirit of keeping it simple I’ve taken some shortcuts here. For instance, in a real world application one might need the favorites list for more than just displaying it on a map. Defining it in App.tsx would make more sense and passing it into components as needed with props or hooks. And the different TypeScript @types dependencies would also normally be added as developer dependencies.
Thank you for following along, I hope you enjoyed this seasonally appropriate map. Happy holidays! ☕