Learn how to easily build your own Tool Plugins to customize Sanity.

Sanity is a powerful CMS solution with a huge variety of use cases. It's headless, which means the data you store is not bound to a particular output, but instead made available through a flexible API. This makes it a great fit for things like blogs and changelogs. In fact, Sanity is actually used to power this site!
In addition to its headless CMS, Sanity also comes with a really nice editing studio for authoring text, namely Sanity Studio. In this article, we'll take a look at how we can build our very own custom tool plugins for Sanity Studio.
First off, what is a tool plugin?

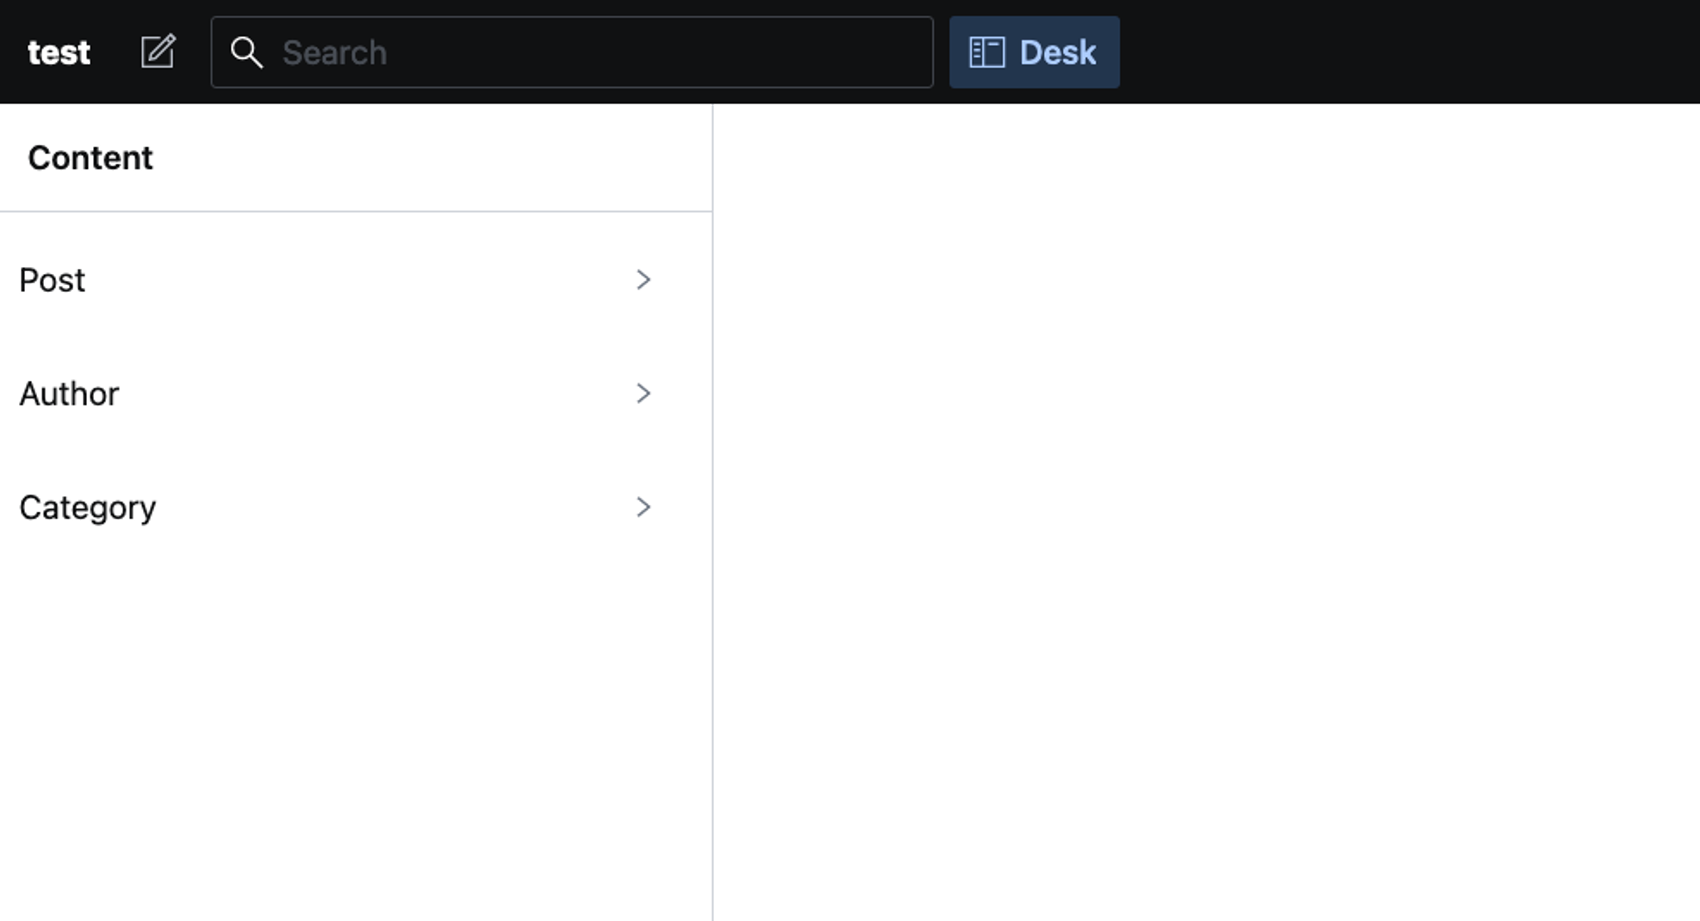
In Sanity Studio, a tool plugin is a page that is accessible through the top bar. By default, the only tool available is the Desk tool.
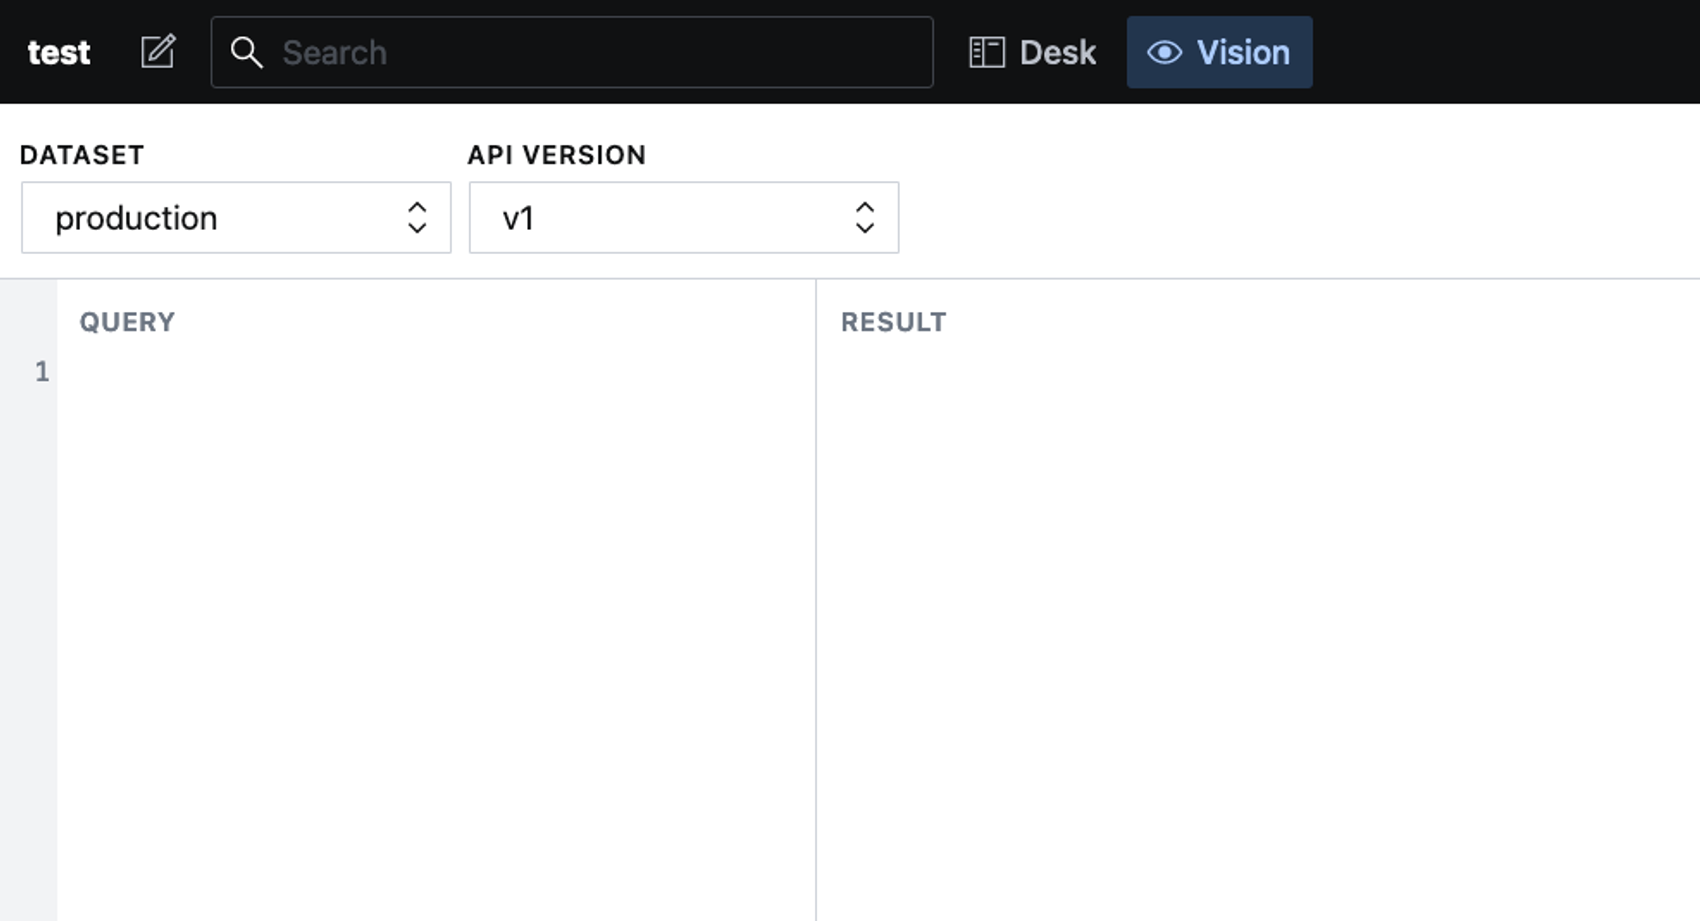
If you run Sanity Studio locally, you'll also see the Vision tool:

Vision is a useful developer tool that lets you run GROQ queries against your datasets.
While it's pretty neat, we want a tool that does something a bit different, so we'd like to try to create our own. Fortunately for us, Sanity makes it easy to generate new plugins.
While in your sanity project folder, type sanity init plugin and choose "Basic, empty tool" to generate a new empty tool.
Choose a name and say "Yes" when asked if you want to enable the new plugin in the project.

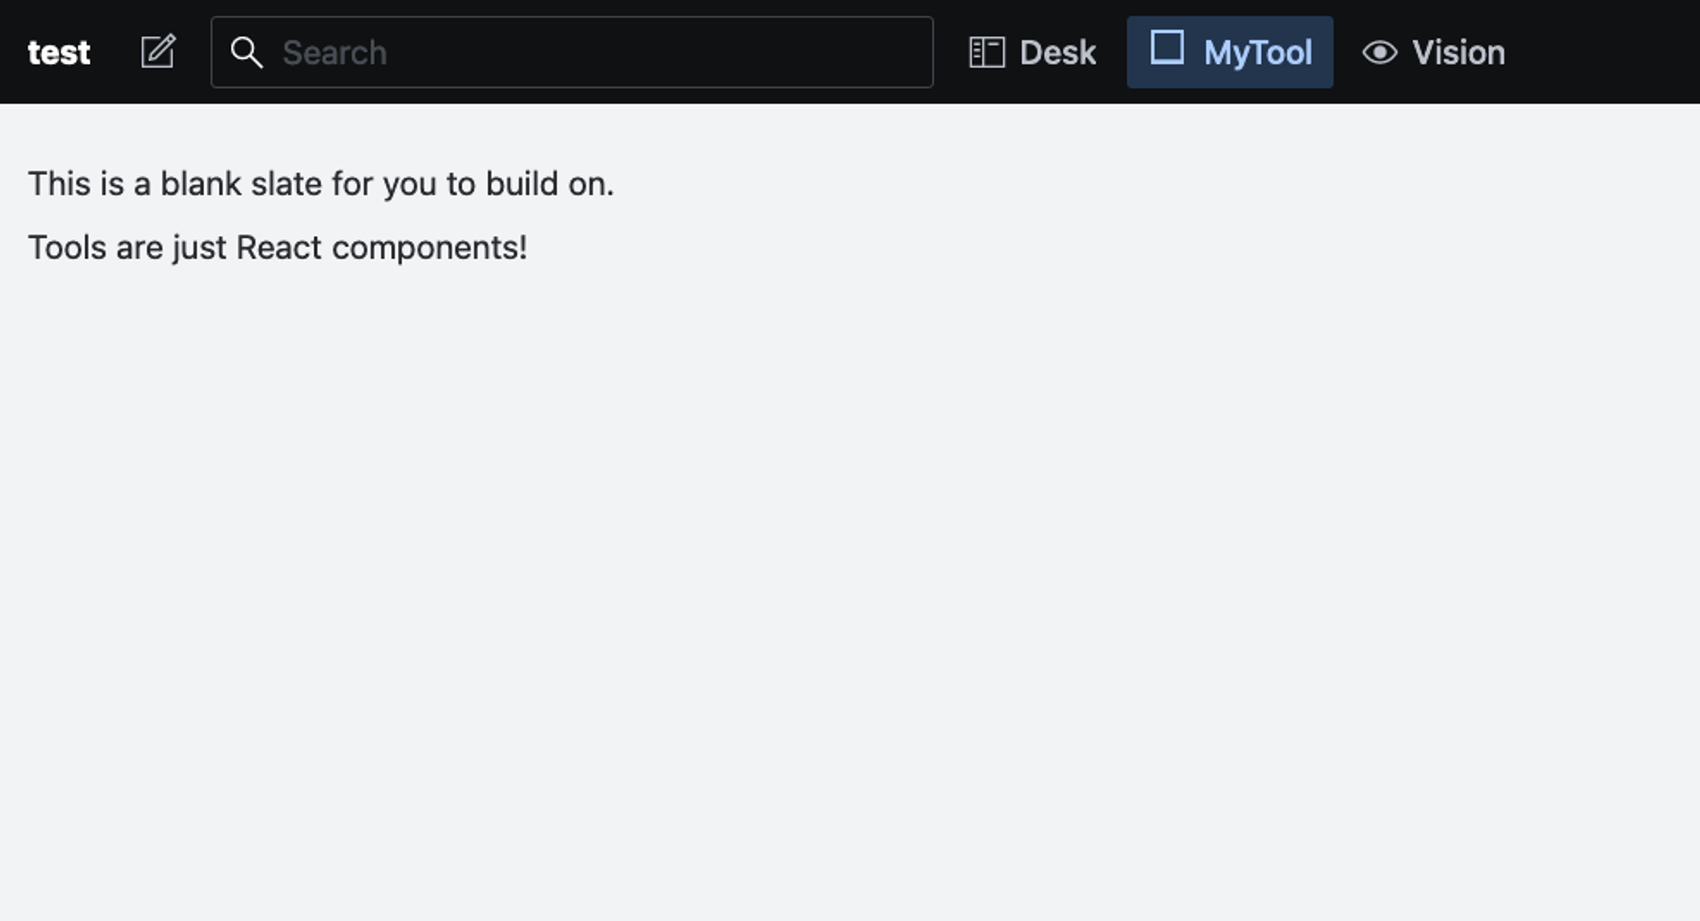
If we take a look at Sanity Studio again, we'll see that the plugin was enabled!

What happened?
When we generated a new tool, Sanity provided all the basic boilerplate necessary to get us up and running. It made a new folder in the "plugin" directory and created some basic files.
Let's take a look at them.
sanity.json
{
  "parts": [
  {
    "implements": "part:@sanity/base/tool",
    "path": "./index.js"
  }]
}
sanity.json is the file that actually tells sanity what type of plugin we are implementing. Sanity uses the parts system, which lets us extend and modify all its existing functionality. in this case, we implement a "tool" part and point it towards index.js.
index.js
import React from 'react'
import MyTool from './MyTool'
import MyToolIcon from './MyToolIcon'


export default {
  title: 'MyTool',
  name: 'mytool',
  icon: MyToolIcon,
  component: MyTool
}
index.js defines four exports.
- Title is the field that will be shown in the toolbar.
- Name is a unique identifier.
- Icon is the svg icon that will be shown next to the title.
- Component is the actual component that will be rendered.
Inside the MyTool file, we see the React class that defines the component.
import React from 'react'
import {Box, Text, Stack} from '@sanity/ui'

class MyTool extends React.Component {
  render() {
    return (
      <Box padding={4} paddingY={5}>
        <Stack space={4}>
          <Text as="p">This is a blank slate for you to build on.</Text>
          <Text as="p">Tools are just React components!</Text>
        </Stack>
      </Box>
    )
  }
}

export default MyTool
While the default component is a class, it can just as well be a function component. We can also write our components with Typescript, since Sanity handles all the bundling for us.
Using Sanity data
Building tools directly in Sanity Studio makes it easier to work with your data. For example, since users in Sanity Studio are already logged in, we can run queries against datasets that would otherwise require manual authentication. Let's build a small tool that takes advantage of this!
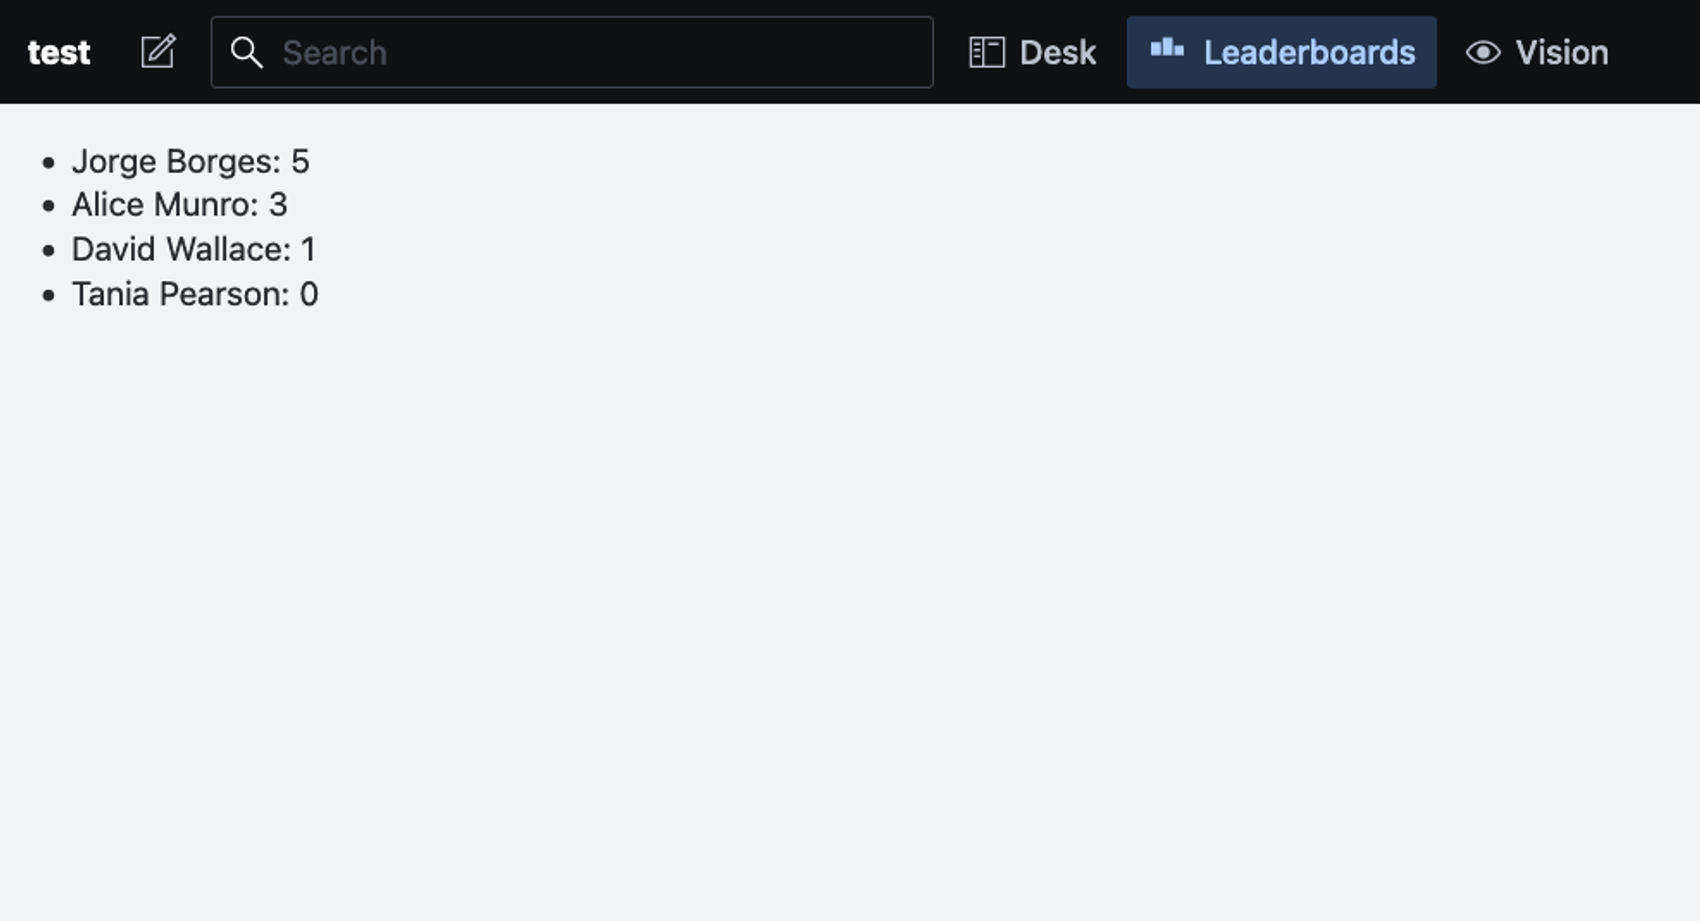
I've made a project using the default Blog layout. To encourage some competition I want a Leaderboard tool that shows how many posts each author has published. This is a perfect fit for a Tool plugin.
First, we'll import the sanity part(s) that we want to use.
import client from "part:@sanity/base/client";Due to parts being plug-and-play, there may be issues with code hinting.
To see what functions are available, have a look at the source code for the default part implementations.
Our component will retrieve all entries that have type "post" or "author". We'll then count how many posts each author has, and show the result in a sorted list.
We'll implement this using function components and hooks:
import React, { useEffect, useState } from "react";
import client from "part:@sanity/base/client";

const MyTool = () => {
  const [authorScores, setAuthorScores] = useState({});
  useEffect(() => {
    client
      .fetch(
        // Remember: You can test out queries using the Vision tool
        '*[!(_id in path("drafts.**")) && _type in ["post", "author"]]{ _type, name, author->{name}}'
      )
      .then((resp) => {
        let authors = resp.filter((entry) => entry._type == "author");
        let posts = resp.filter((entry) => entry._type == "post");
        setAuthorScores(
          posts.reduce(
            (acc, post) => ({
              ...acc,
              [post.author.name]: acc[post.author.name] + 1,
            }),
            // This ensures authors with 0 posts are included as well
            authors.reduce((acc, author) => ({ ...acc, [author.name]: 0 }), {})
          )
        );
      });
  }, []);

  return (
    <ul>
      {Object.entries(authorScores)
        .sort((a, b) => (a[1] < b[1] ? 1 : -1))
        .map(([author, posts]) => (
          <li>
            {author}: {posts}
          </li>
        ))}
    </ul>
  );
};

export default MyTool;
I also changed the title and icon for the plugin in the index.js file.
The end result is this:

Neat!
What's next?
From here you can pretty much go anywhere you want.
Any npm package you install in your Sanity project will also be available in your plugin, so you have total freedom to build your tool the way you want it. Sanity also provides a routing library, which you can check out by selecting Tool with basic routing when generating a new plugin.
If you want the style to match the rest of Sanity Studio, you might want to check out the Sanity UI component library.