Having a fast and snappy site makes for happy users who are more likely to return to your site. Low quality image placeholders (LQIP) might be what you need to make for a pleasant loading experience for your users.
Challenge
Making a website can be an easy task, but making sure that it loads fast and is available to the majority of your users, whom might be on spotty or bad networks can be challenging. Especially if your site has a lot of high resolution images that needs to be downloaded. This can harm your sites web vitals and especially the First Contentful Paint and the Cumulative Layout Shift thus punishing your sites performance and your users. Fortunately there are different solutions to this problem, one of which I am going to tell you about now.
Introducing Primitive
Primitive is a command line tool and a native Mac application that takes an input image and transforms it to a generated image containing simple geometric primitives. This post focuses on the command line tool. The generated image from Primitive will be a lot smaller in size and therefore it will also load faster. Adding a little blur into the mix as well will give you a great starting point for exceptionally fast load times on your site.
How Primitive works is beyond the scope of this article, but feel free to read more at the Github repository.
Getting started with the CLI version
To get started with Primitive’s command line interface you will have to do the following:
- Download and install Go
- Then run
go install github.com/fogleman/primitive@latest - Now run
primitiveand you should see the options available through Primitive in your terminal
If the primitive command does not work you might want to add the following to your path: export PATH=$PATH:$(go env GOPATH)/bin
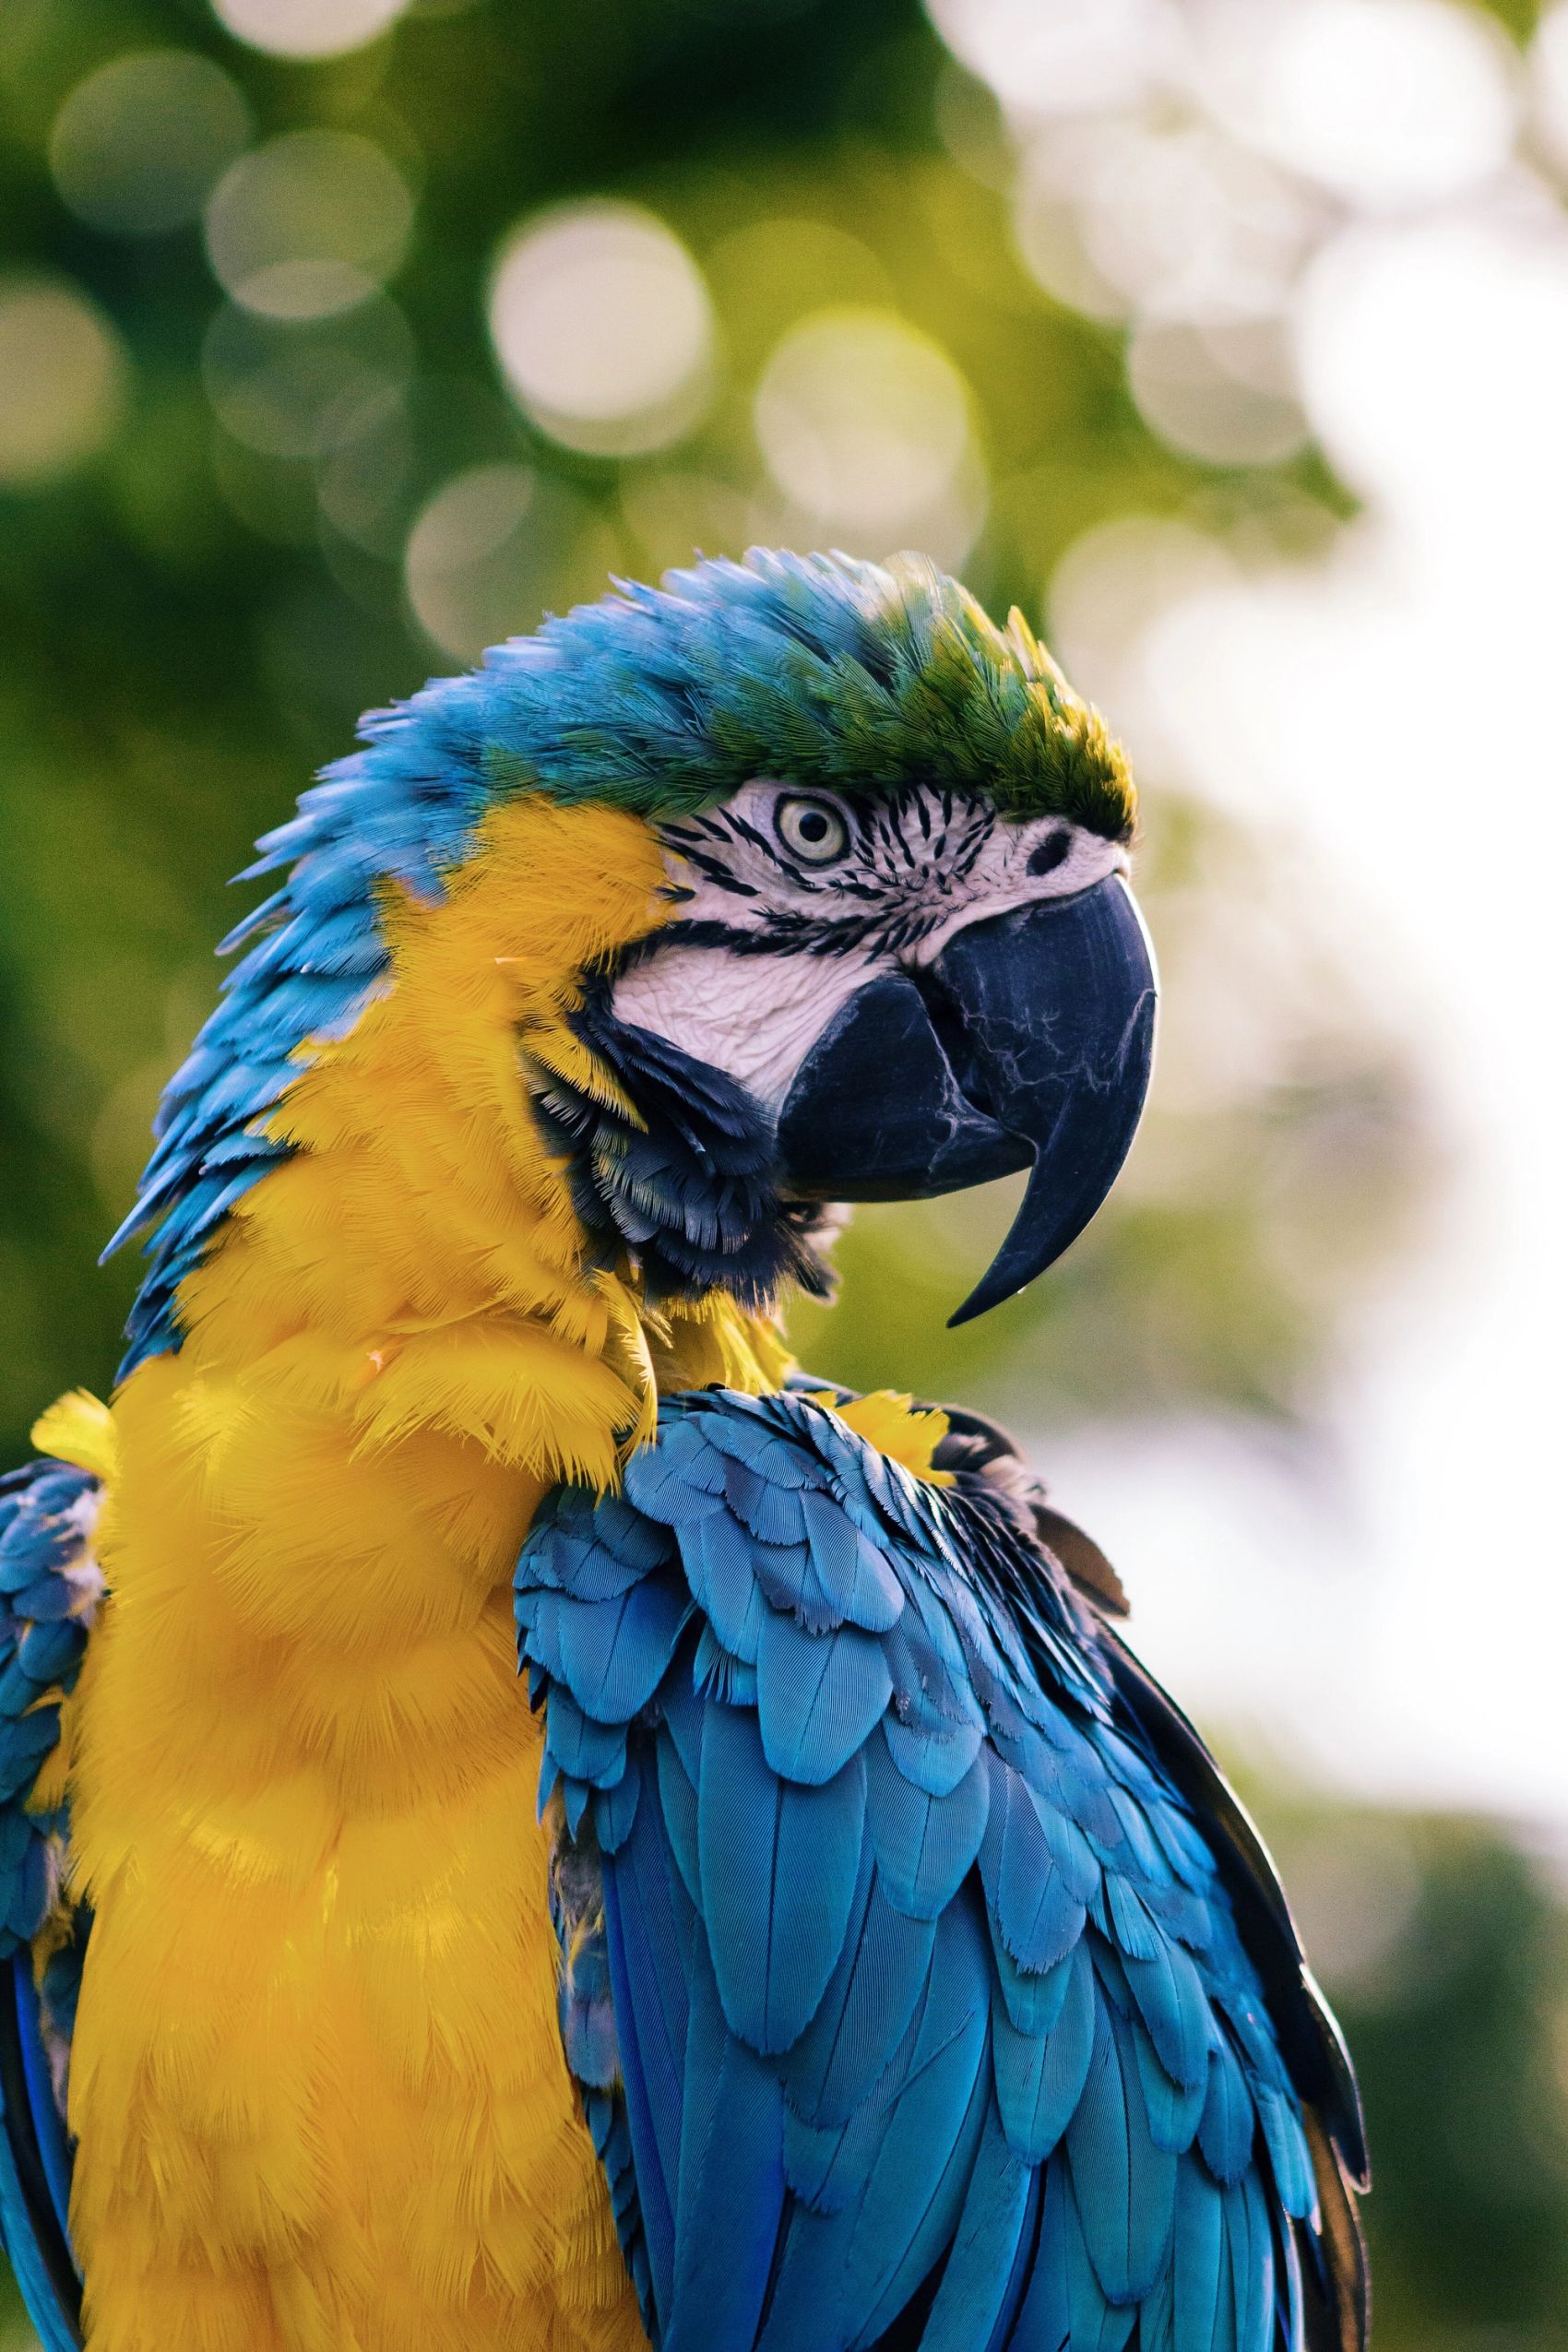
When you have the primitive command running we can start to experiment with the capabilities of Primitive. Let us see how we can generate a jpg image consisting of 100 triangles using this nice image of a parrot shot by Andrew Pons from Unsplash. I downloaded the image and renamed it to image.jpg for brevity.
The command to generate a jpg image of 100 triangles will be
primitive -i image.jpg -o output.jpg -n 100 -m 1
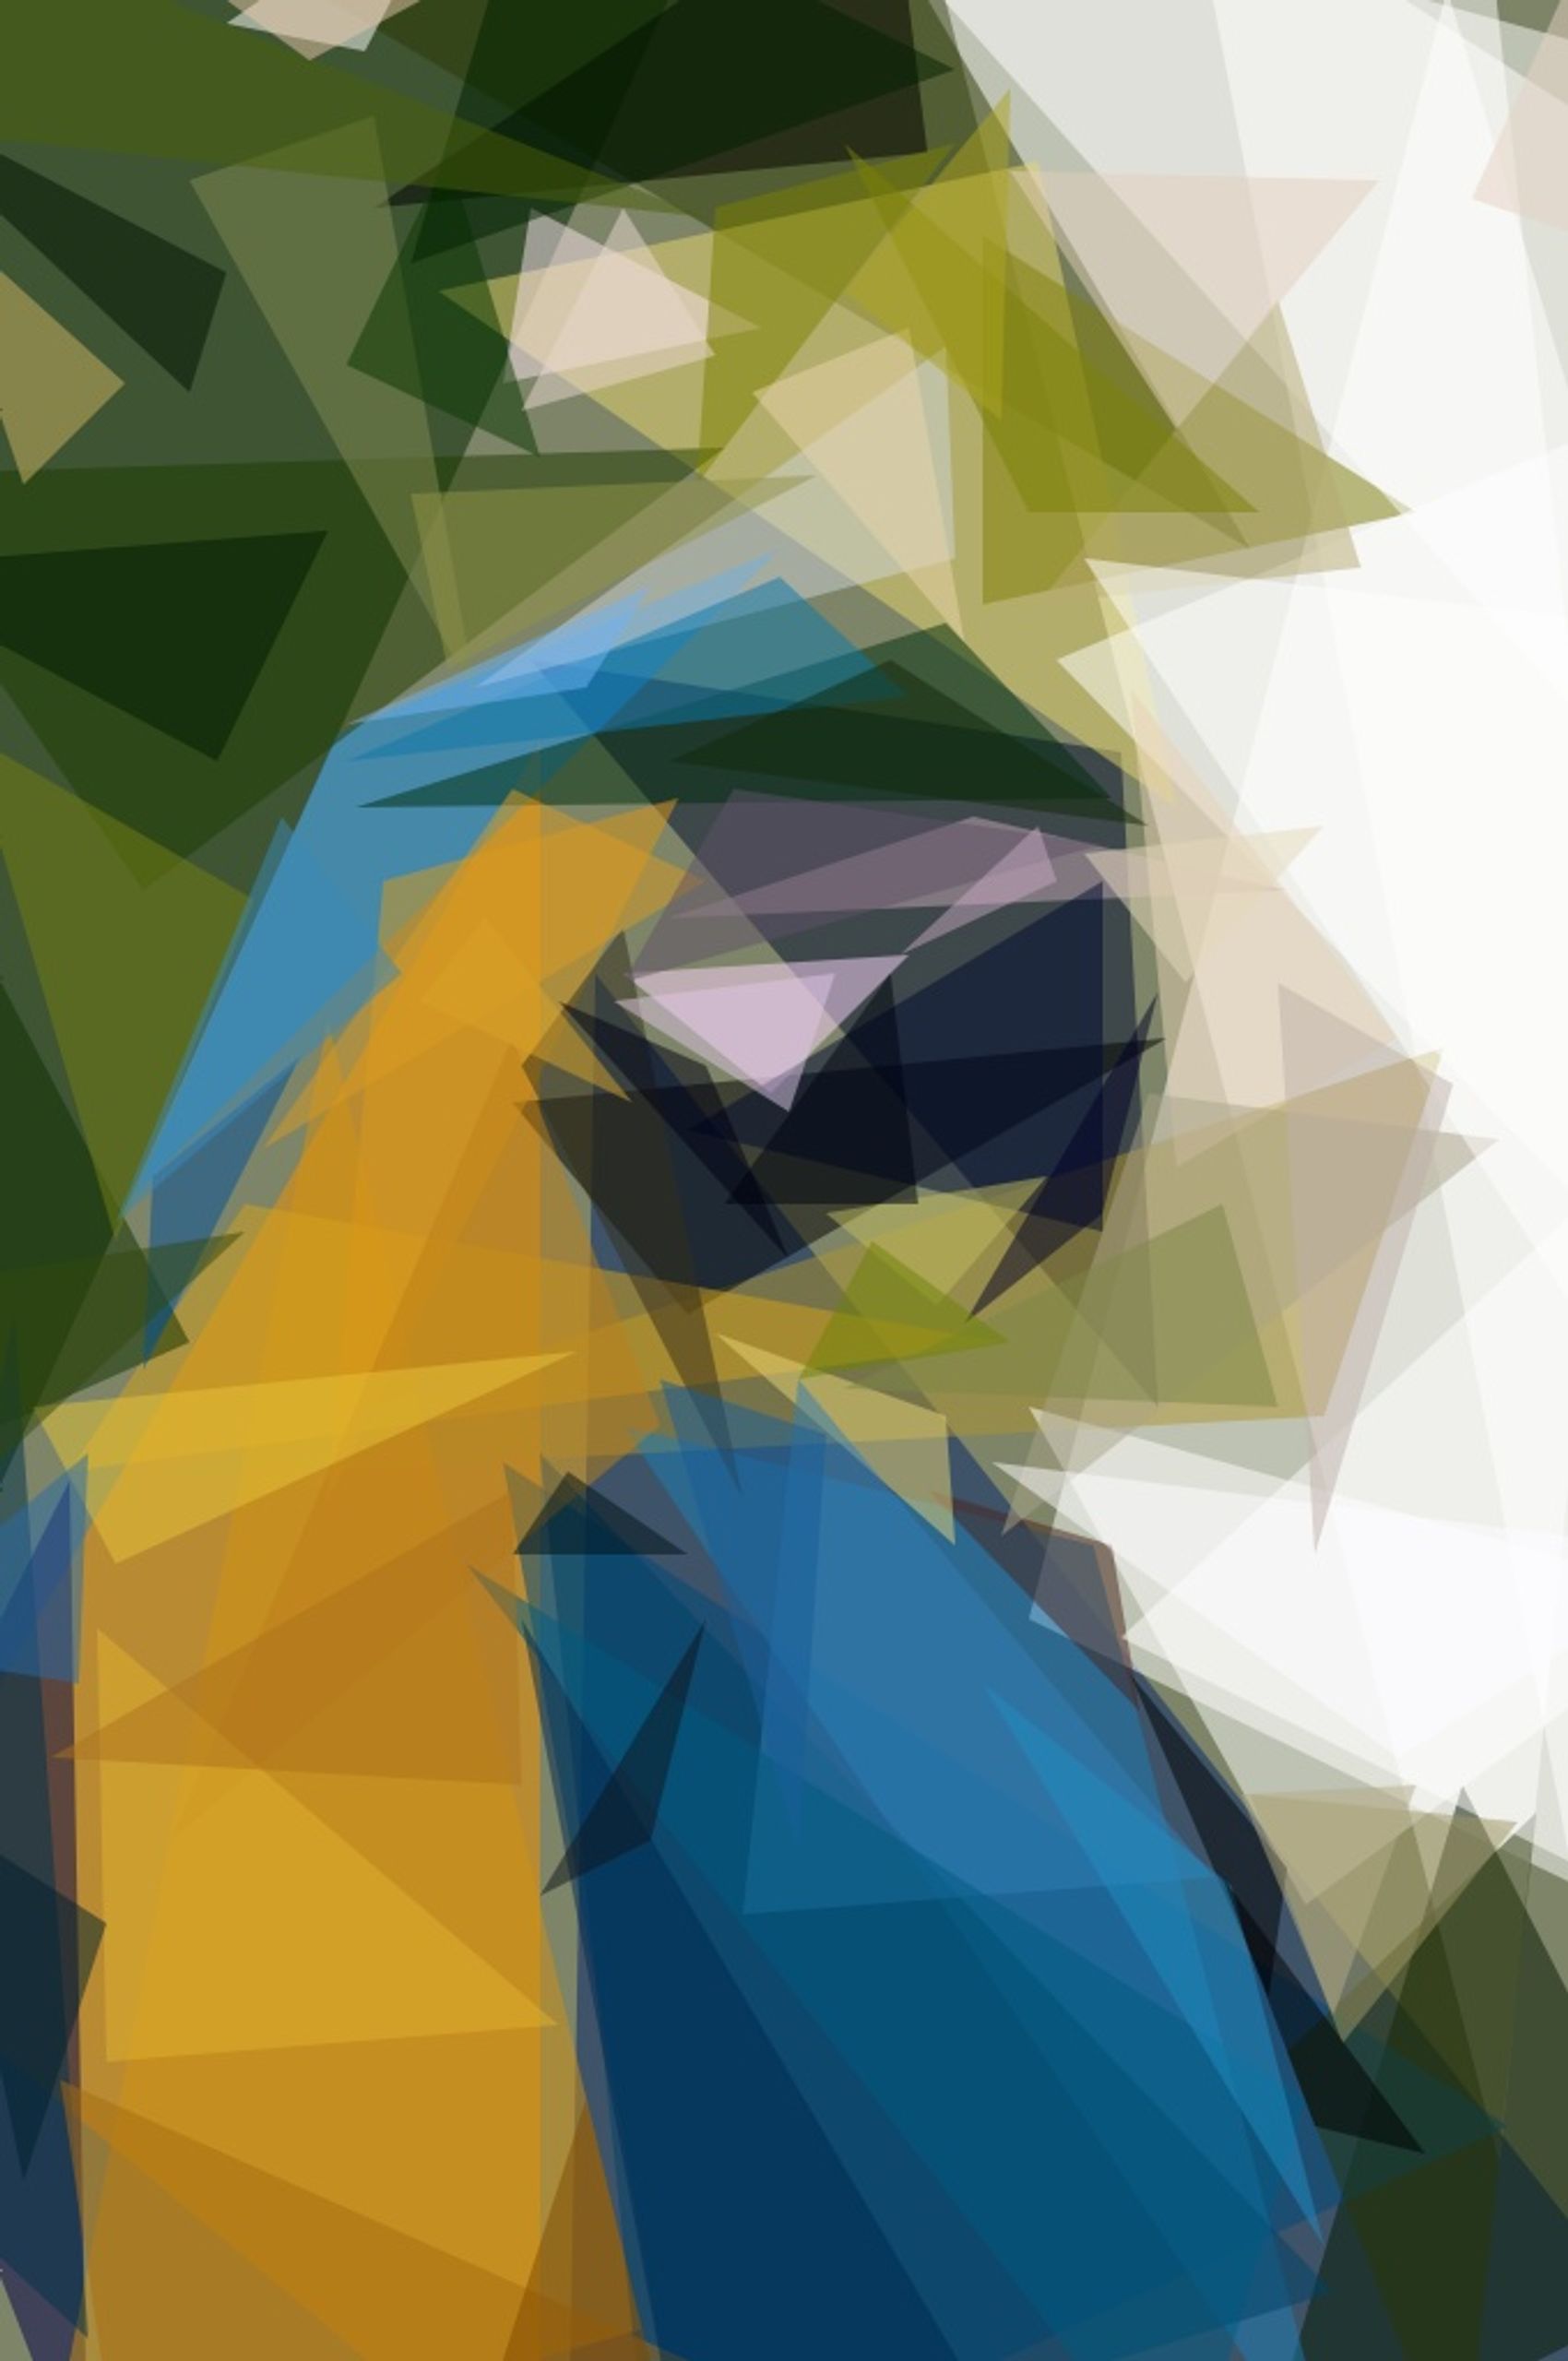
This command will generate the following picture

and as we can see, the new image is only 114 kB and will thus load faster than the high resolution original.
Primitive also supports other output formats if you want to experiment.
If we add some blur to the image, it is hard to tell that the image consists of only triangles and it can therefore be used as a nice blurred variant of the image while your browser fetches the high resolution version.
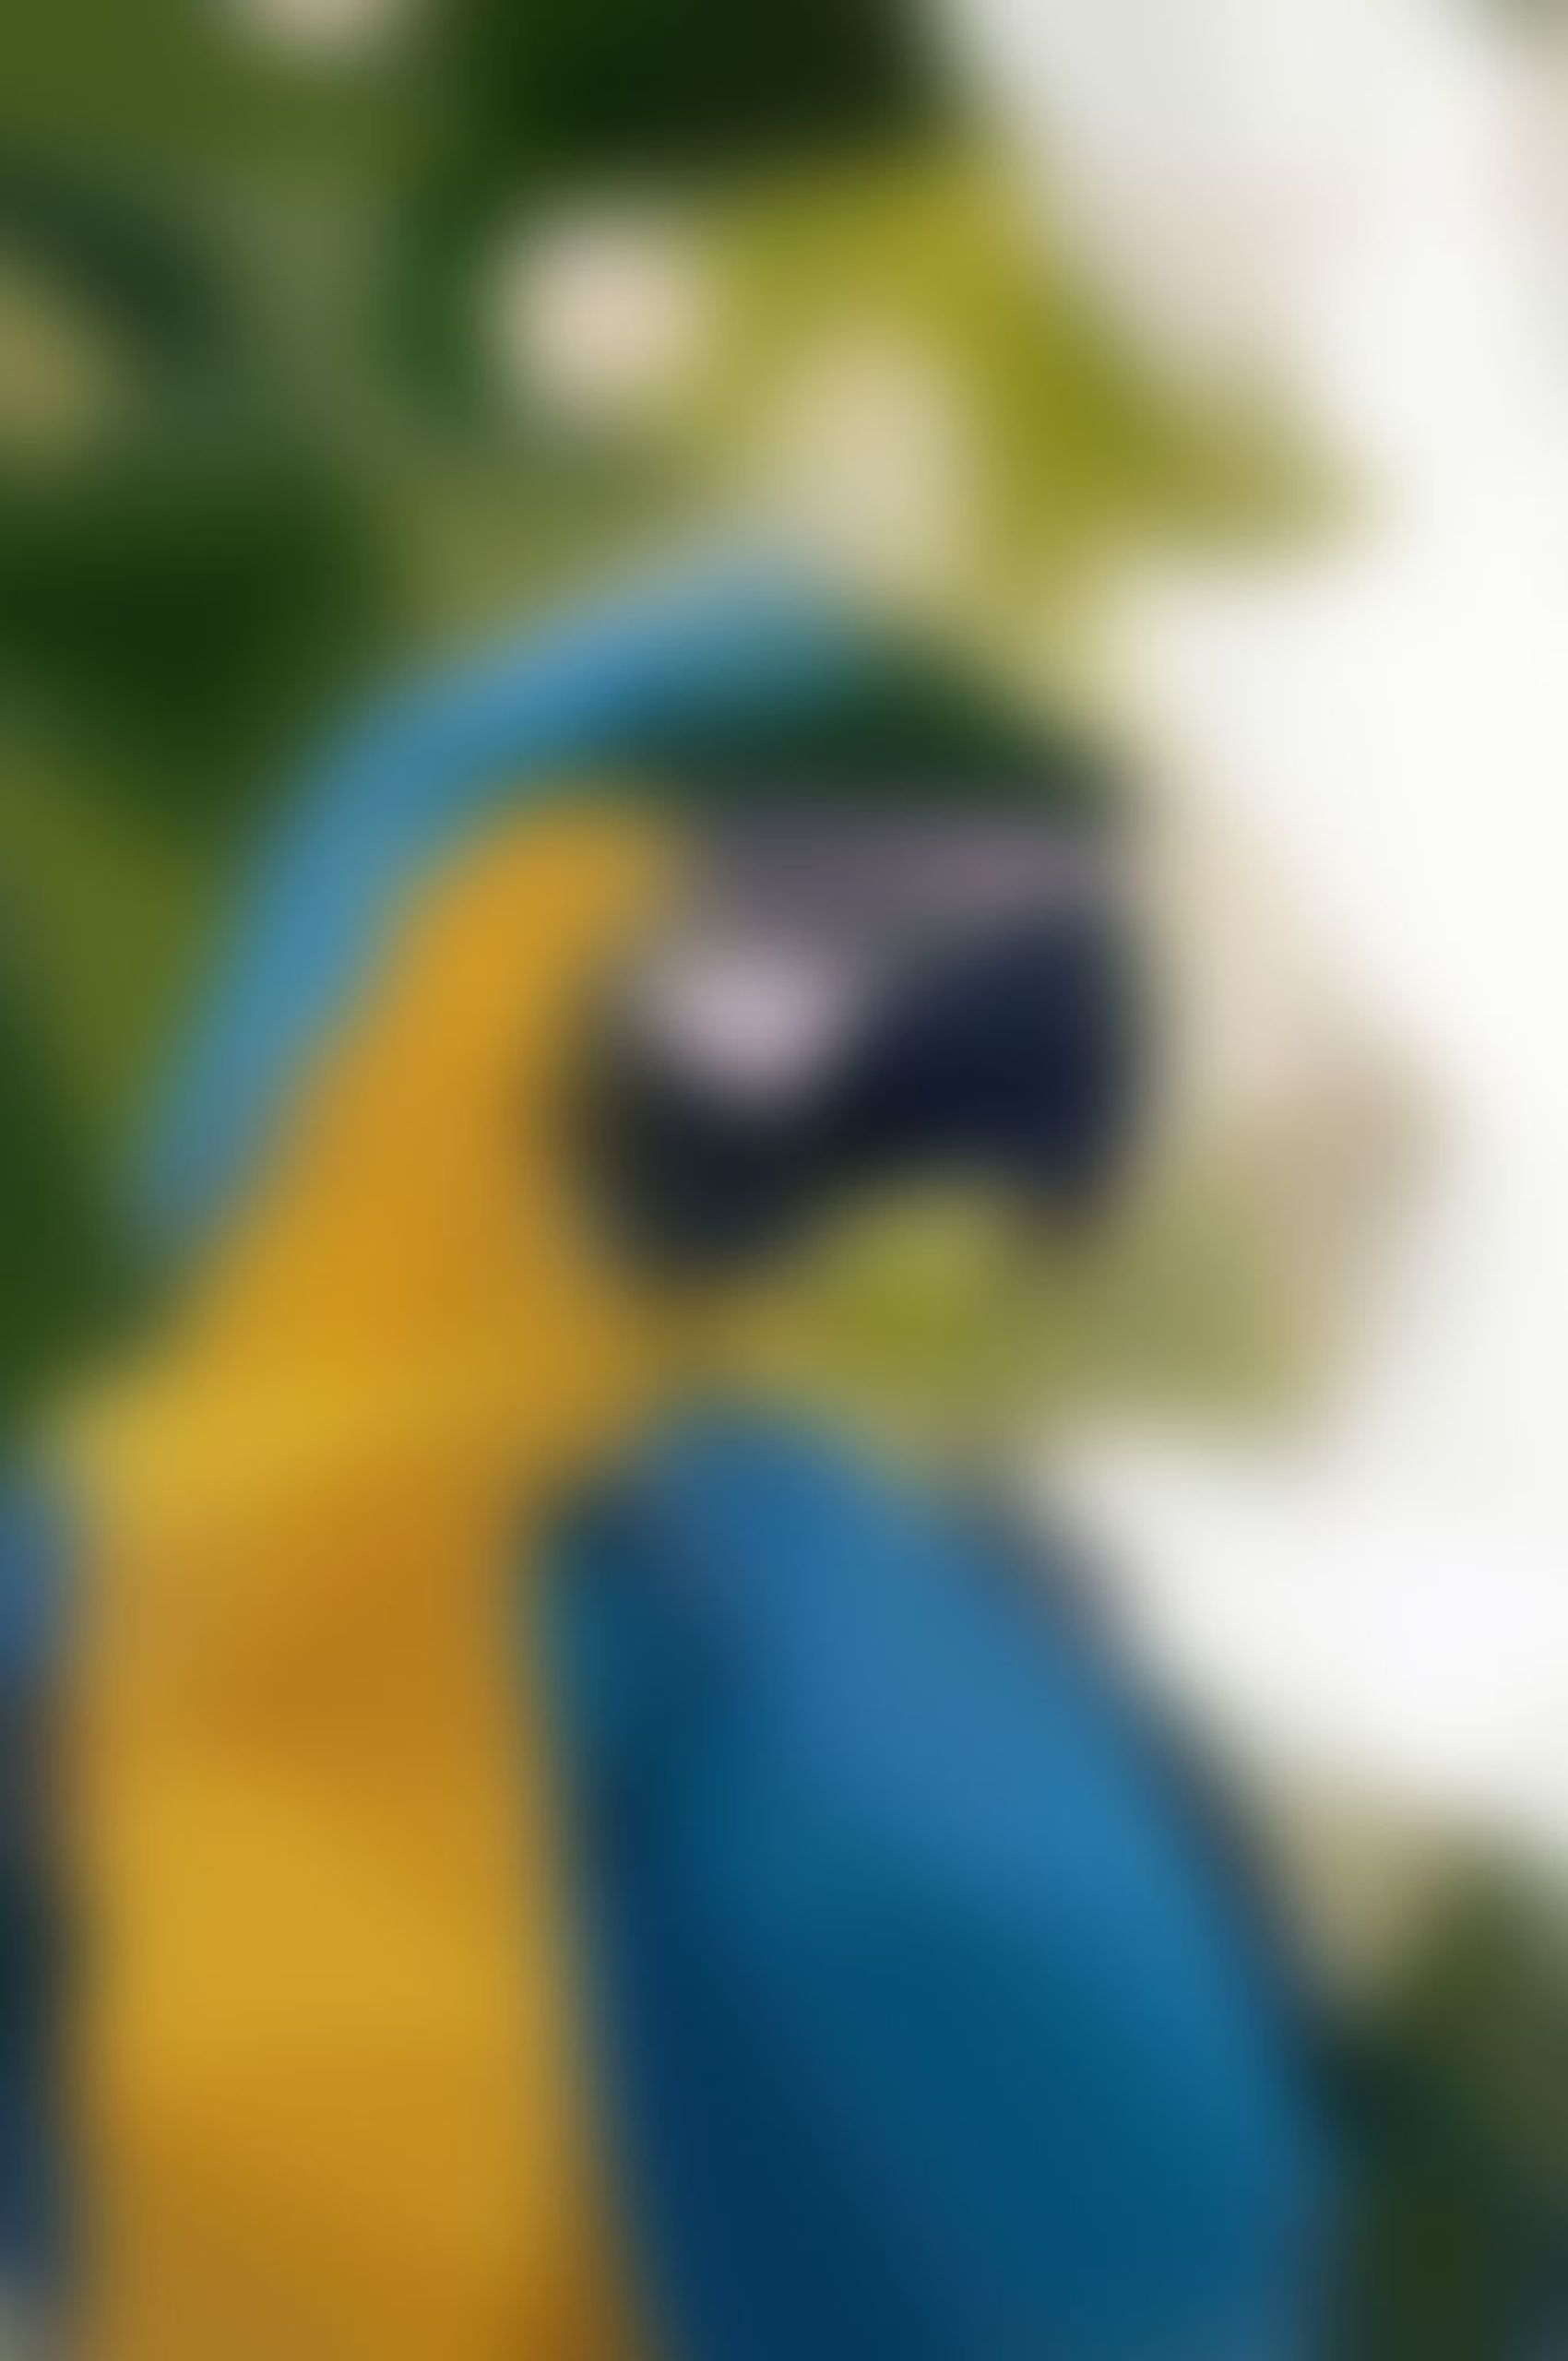
By applying the blur we have also been able to shave another 50% of the file size, making the loading times on even slow 3G networks quicker.
If we just blur the original image, we shave of a decent amount of bytes, but the size is still 656 kB. Over 10 times the size of the converted primitive image with blur!
If we render the four images next to each other, and simulate a fast 3G network connection in our developer tools we can clearly see the impact of loading times for the different images.


How to use the images in real life
We now have one or more blurred images that we want to use in our application, but how do use them, and perhaps more importantly, how do we make sure our beautiful high resolution images loads in the background and are automatically replaced when they are downloaded? I will show you an example using Javascript and a library called vanilla-lazyload.
We start by adding the markup for our image
<img
  class="lazy" // This class is used by vanilla-lazyload
  alt="An image of a parrot"
  src="./primitive-image-with-blur.jpg" // Src shows the placeholder
  data-src="./original-image.jpg"> // data-src holds a reference to the original image
we then include the vanilla-lazyload library at the end of our DOM before instantiating it.
  html omitted for brevity...

  <script src="https://cdn.jsdelivr.net/npm/vanilla-lazyload@17.8.3/dist/lazyload.min.js">
  </script>
  <script>
    var lazyLoadInstance = new LazyLoad({ });
  </script>
</body>
and when we now load our site, the image is first blurred before the original image presents it self in all its glory.
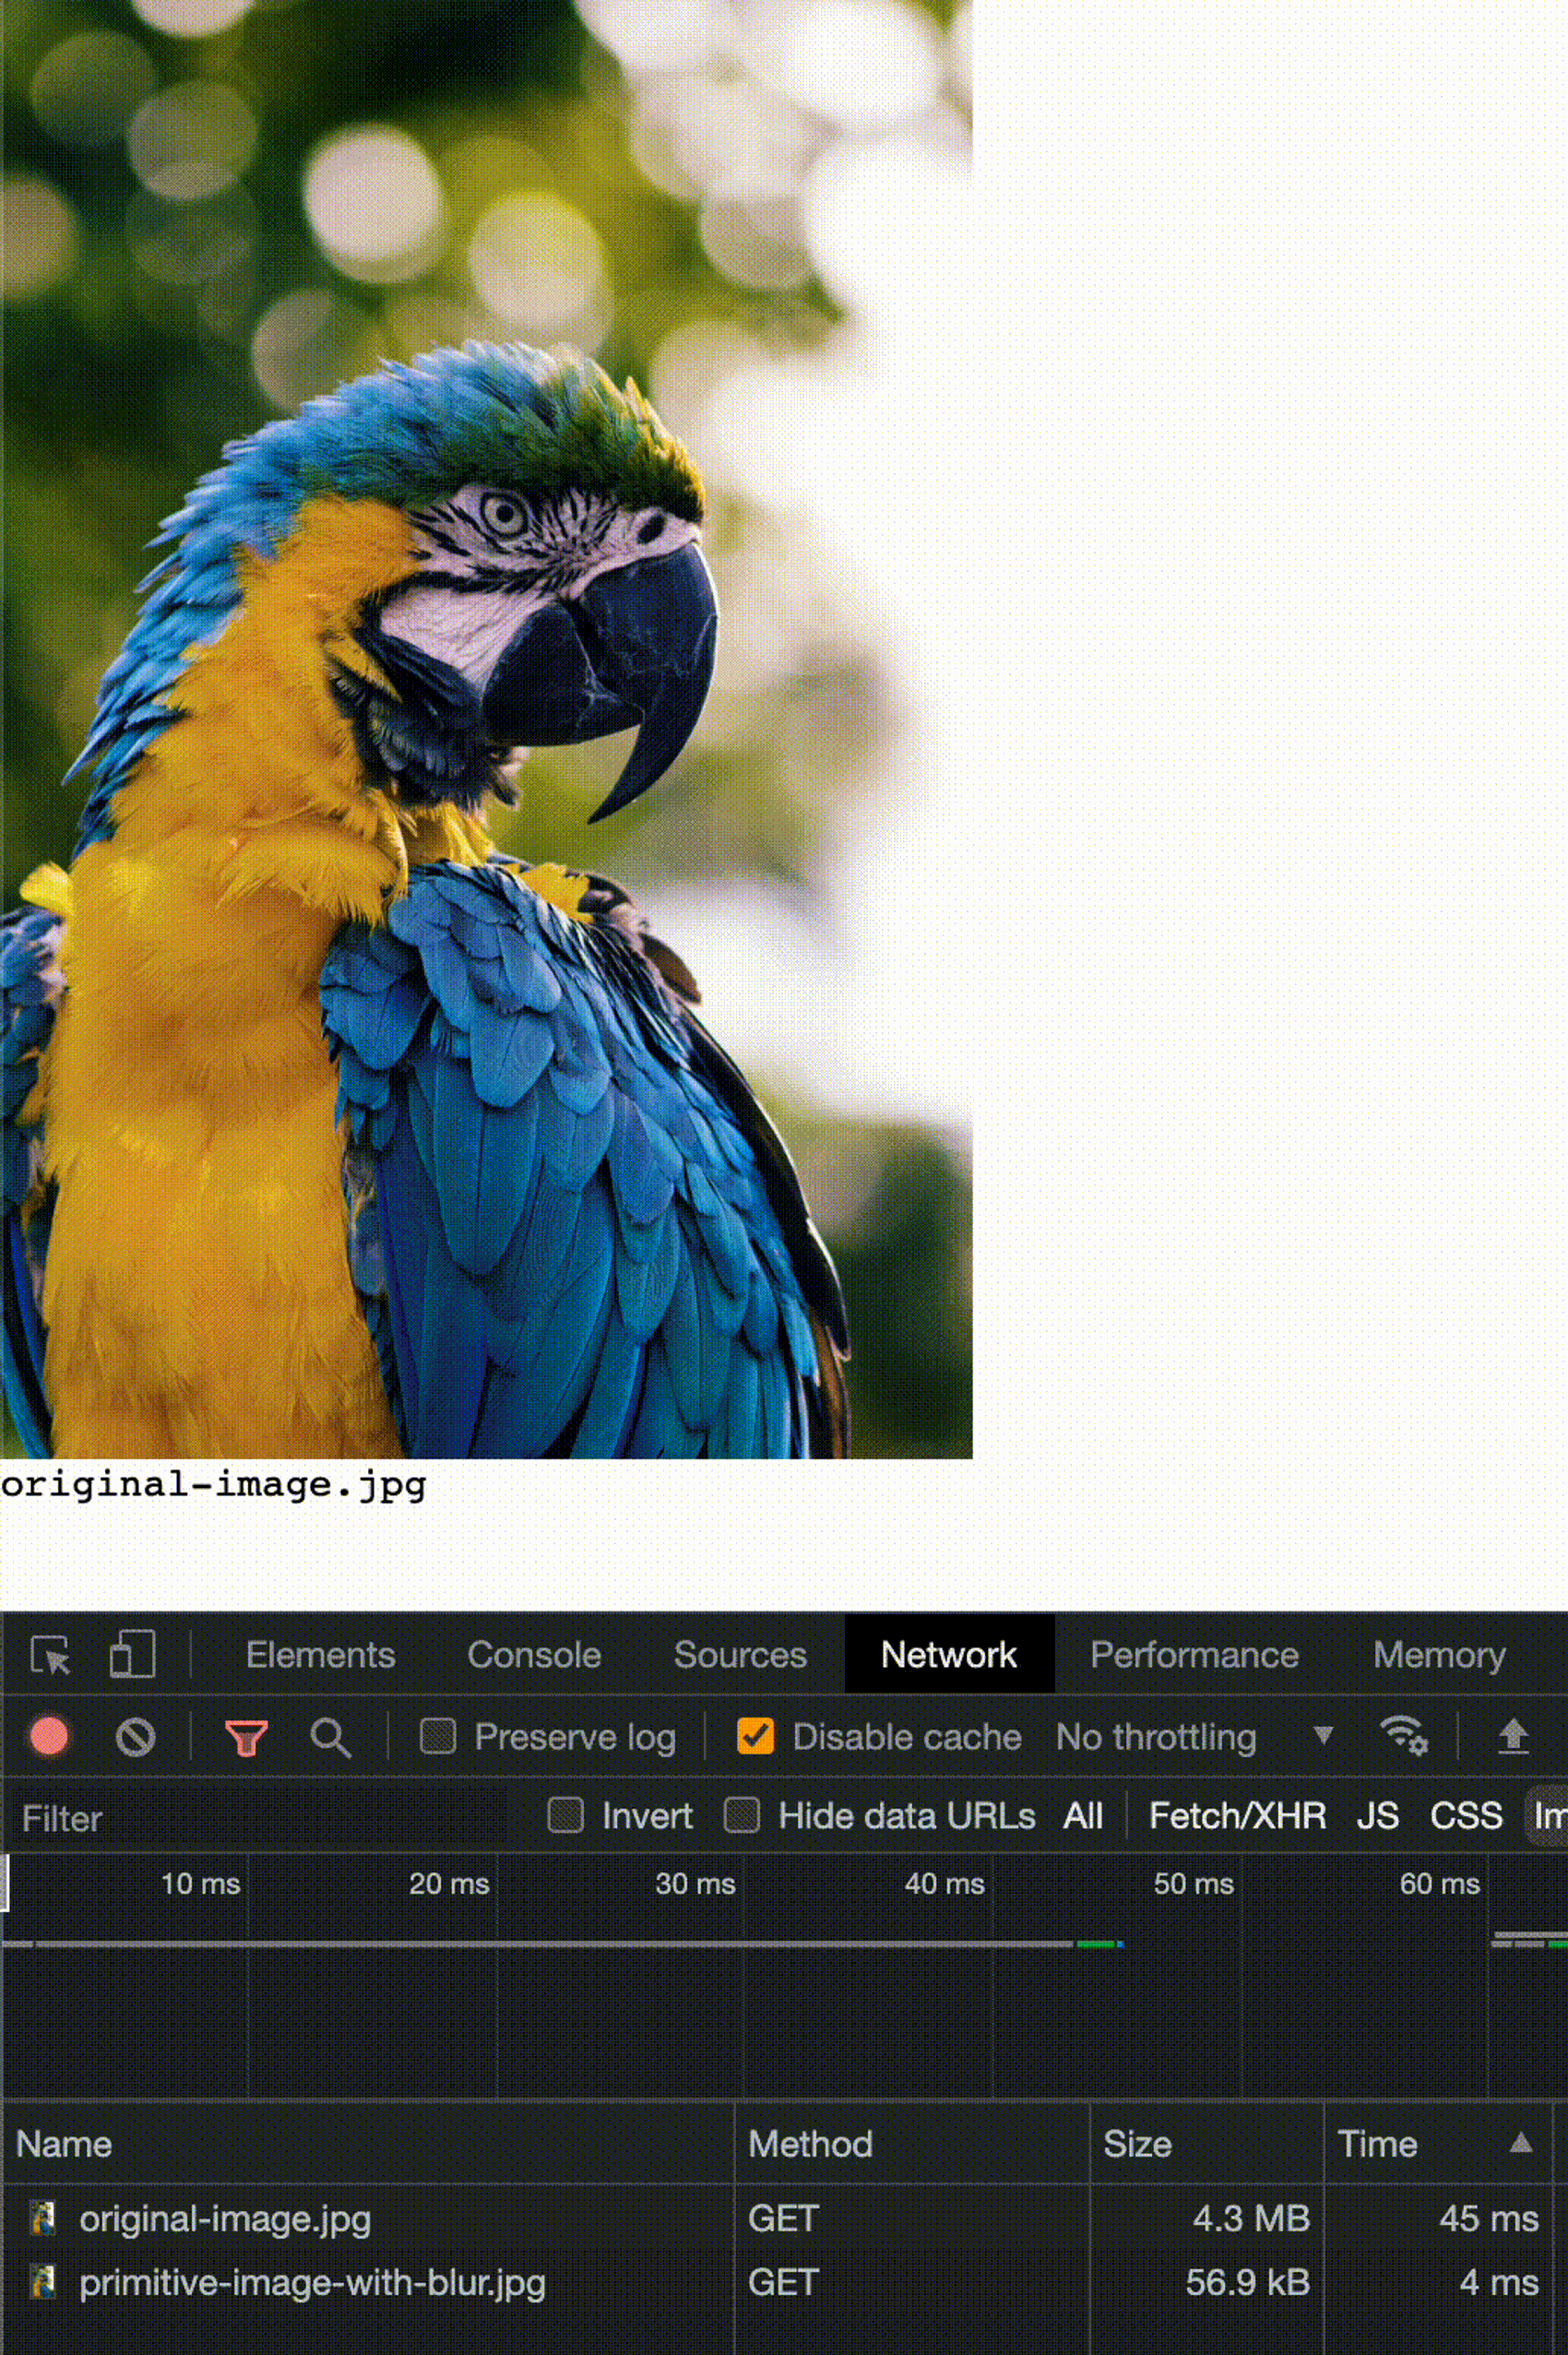
Keep in mind when using javascript libraries that the javascript has to be downloaded to the client device before executing, thus adding a overhead before the original image will render. You might want to compare the trade off before choosing a library such as vanilla-lazyload and then shipping to production.
Bonus tip 1
If you use Next.js as your choice of framework, you will get a very powerful image component included. I won't go into detail on how to use the image component, but feel free to have a look at the placeholder property for creating a blurred effect while the high resolution image is being fetched in the background.
Bonus tip 2
If you use Sanity as your CMS of choice, they have a very powerful asset pipeline for transforming content. I would take a look at the image transformation options and see if you can serve a small blurred variant of your image before fetching the high resolution image.
Conclusion
As I have demonstrated in this post, creating blurred versions of your high resolution images can have a serious positive impact on your web vitals, making your users happier by providing a pleasant experience in regards to load times for your app. Having a fast initial load time for your app will increase your chances of keeping your users longer on your site because they won't leave when the site takes too long to load.