Animations in app development is something that, when done right, could elevate the user experience to another level. In this article I hope to give you the tools you need to create animations in your React Native app, all while keeping the Christmas spirit alive 🎅

To present these tools, I will exemplify the four most common methods for writing animations in React Native, and give you an understanding of when to use which method. In true Christmas spirit, we will create a wish list to Santa, and hope that the animations will get his attention and we get what we wish for!
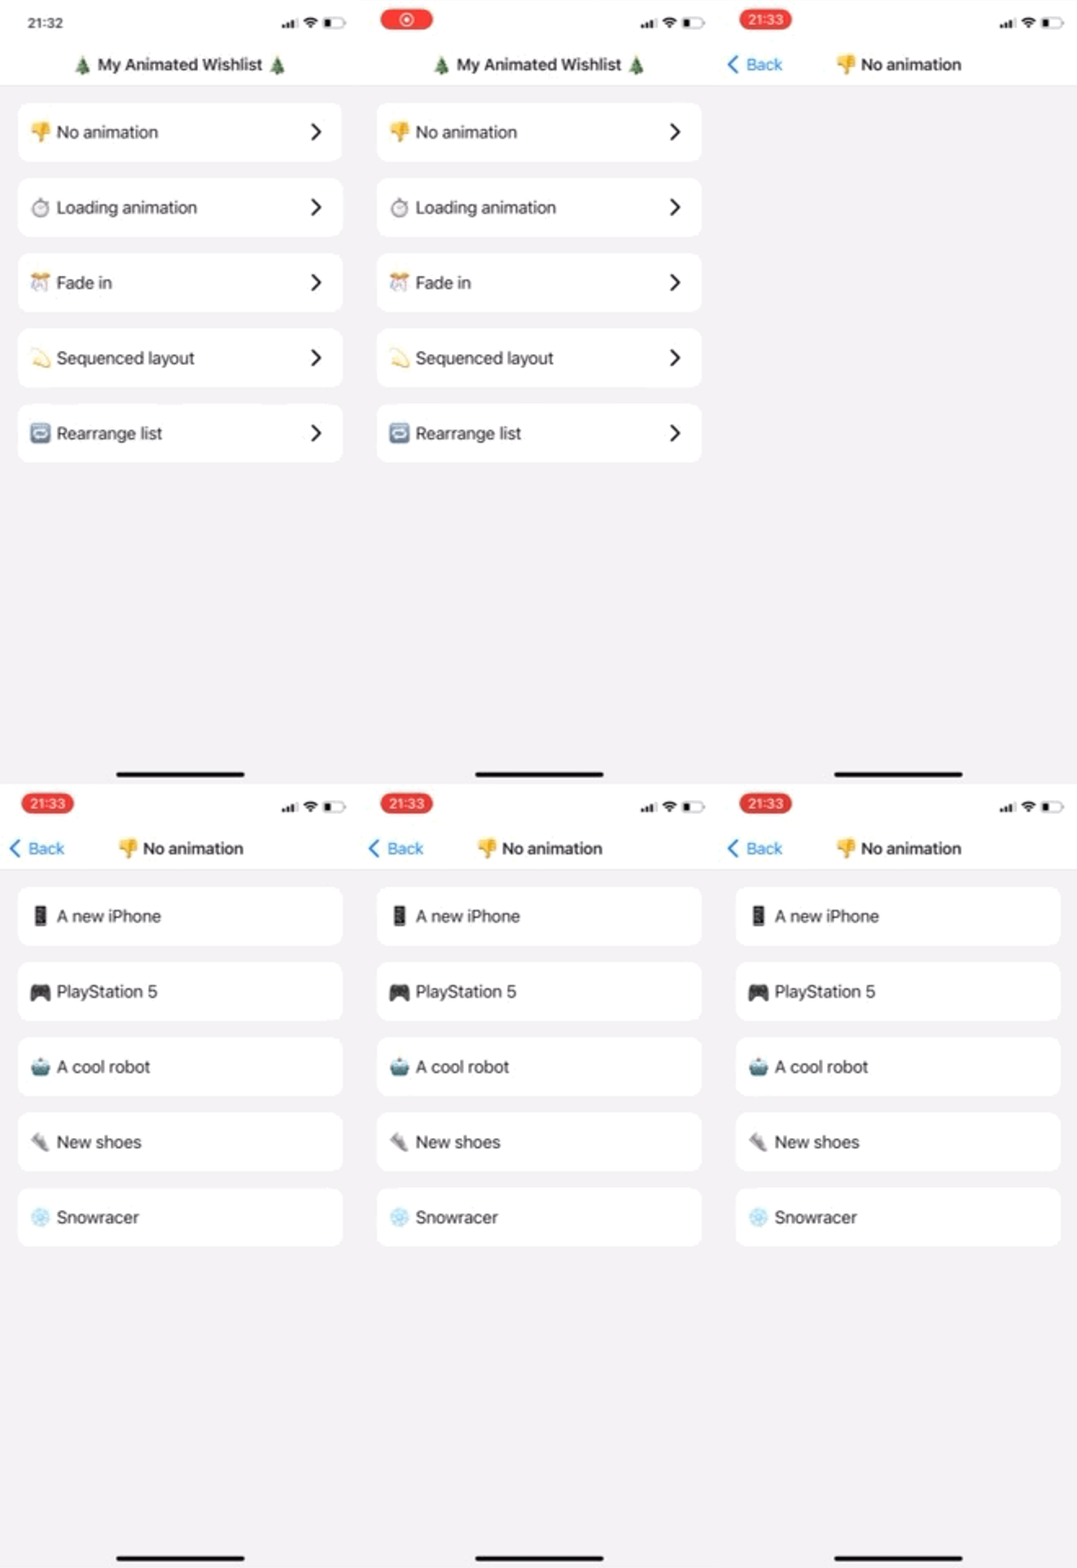
If you want to follow along, I have created an example app using expo that implements all the animations I talk about in this article. Check it out here. The starting point of the example can bee seen below.

As you can see from the GIF, we have to wait some seconds before our wish list is fetched from the server. The app only shows a blank page in the mean time, leaving Santa confused whether he did something wrong. Let us fix that now!
1. Lottie
We can present Santa with a nice loading animation to give him some context of why the list is not showing up at once. To do so we can use Lottie, which is branded as a lightweight, scalable animations package that works with most platforms (web, app, email, ads, etc.).
Using this package for loading static, vector based animations will make the loading time more fun and acceptable for Santa. All we have to do is to install and import the package, import a json formatted Lottie animation file, and conditionally render it while we are waiting for our data. The Lottie json files can either be created by yourself, or it could be downloaded for free from their website.

Using Lottie animations is also perfect to indicate successful (or unsuccessful) completion of tasks. Had our simple wish list app included a way to add new items to the list, a confetti animation to celebrate this action would be very enjoyable!
Combining Lottie with the React Native Animated API (described in 3.) also unlocks new possibilities like programmatically setting the frames of the animation. With this combination you could intertwine the loading and success animation into one smooth experience, by looping the loading frames until the action is complete, and then seamlessly finish with the success frames of the animation.
2. LayoutAnimation
Looking at the results from adding Lottie it certanly improves the experience for Santa. However, there is still an abrupt change between the loading animation and the appearance of the items in our wish list. We do not want to scare Santa with our long list, but rather make a smooth transition for him once the items are done loading. To make such an animation, we could fade the items in by using LayoutAnimation which is directly built into React Native. This can be achieved by simply adding this one-liner:
LayoutAnimation.configureNext(LayoutAnimation.Presets.easeInEaseOut);
right before we store the fetched wish list to our state. The configureNext function works by automatically animating views to their new positions when the next layout/re-render happens.

While easy to implement, LayoutAnimations have some drawbacks. Since the animation does not refer to a specific element on the screen, LayoutAnimations could have some weird side effects when not having complete control of when your re-renders happens. Therefore I would refrain from putting them inside useEffects with complicated dependency arrays, or inside components with many props that could trigger re-renders. Unless, of course, if you know what you are doing 🤷♂️
3. Animated
Even though this fade-in animation helps to ease Santas mind when looking at our large and expensive wish list, it is still kind of boring. Another drawback with LayoutAnimation is that you could only define one type of animation for the elements at a time. After all, it is just ment to automatically animate views to their new positions when the next layout happens, and not to do any super fancy stuff. And to impress Santa, we want to be a little fancy 💁♂️
If you want more control over your animations, the next step is to try Animated, which also is built into React Native. It lets you compose a set of animations that change animation values, which you attach to your components with the transform value in the style prop.
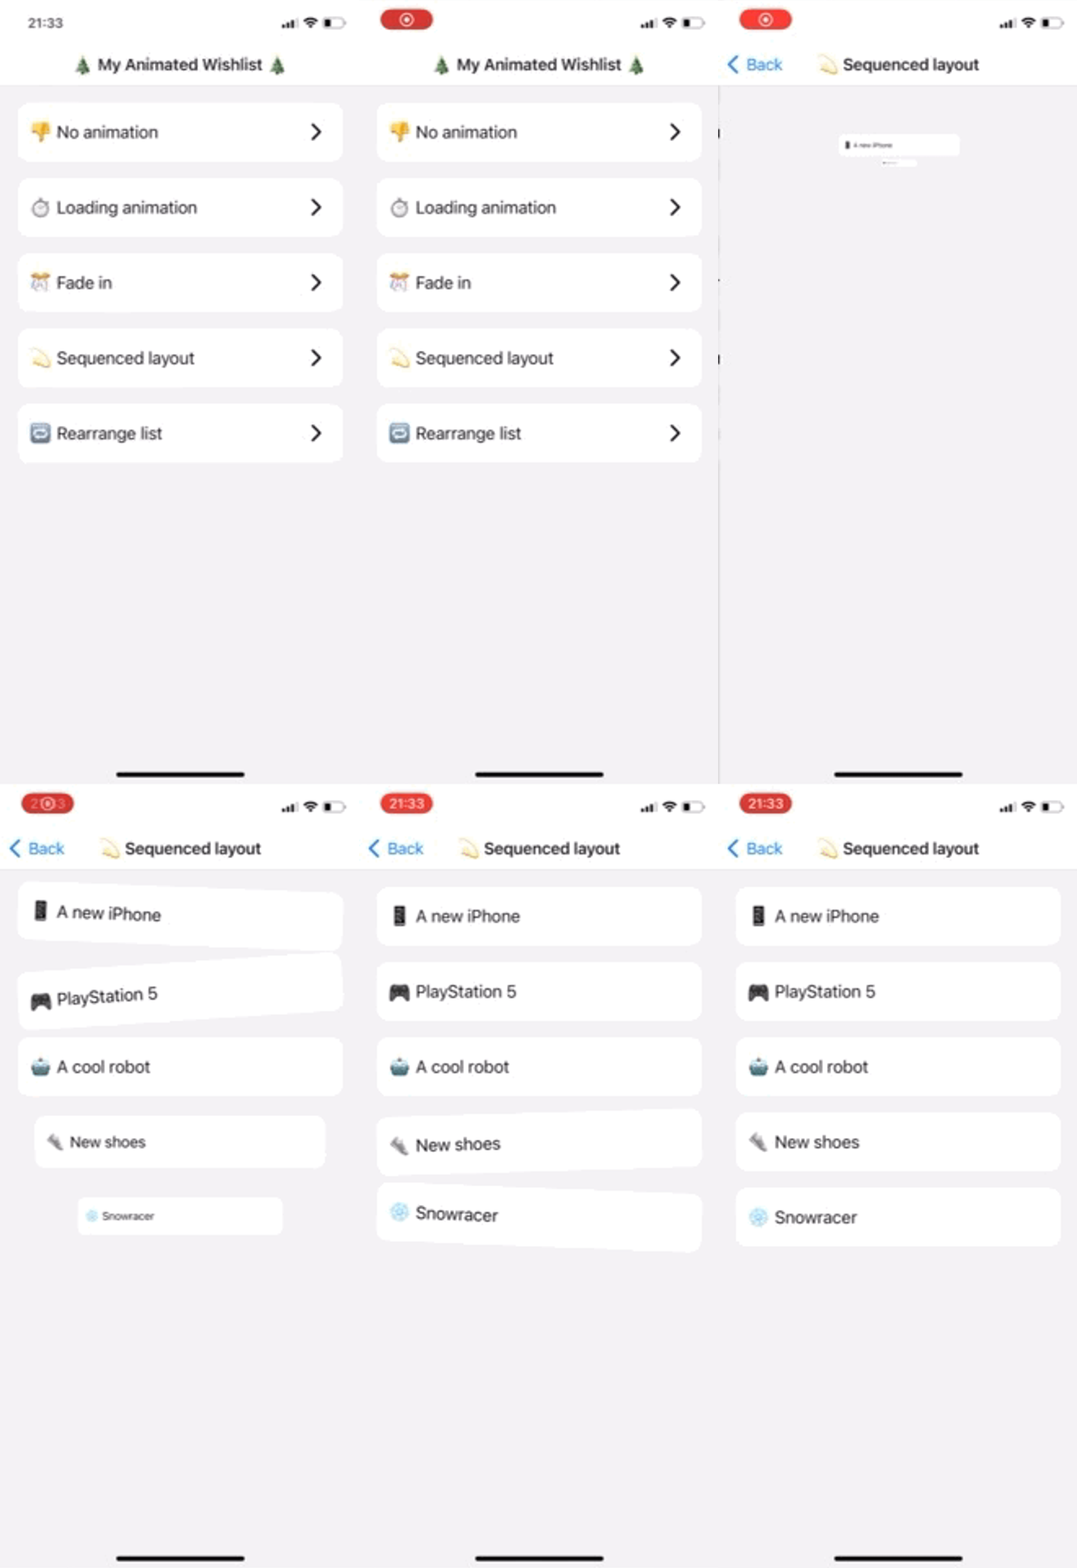
In our wish list we want to take advantage of the composability of Animated by introducing each item after one another, so that all the items is not shown at once. To make the animation more fun for Santa, we want to move the item in from the top while scaling it from zero to one. To give the animation one last touch, we want it to wiggle the item once the scaling is done. We first create one animation value each for translation, scaling and wiggle, like so:
const scale = useRef(new Animated.Value(0)).current;
const translateY = useRef(new Animated.Value(-1000)).current;
const shake = useRef(new Animated.Value(0)).current;
We want to initiate the animation once the items load, so our animation composition will be placed in an useEffect, and started right away:
useEffect(() => {
    Animated.sequence([
      // Index of item in the list
      Animated.delay(200 * index),
      Animated.parallel([
        Animated.timing(scale, {
          toValue: 1,
          duration: 1000,
          useNativeDriver: true,
        }),
        Animated.spring(translateY, {
          toValue: 0,
          useNativeDriver: true,
        }),
      ]),
      Animated.timing(shake, {
        toValue: 1,
        duration: 1000,
        useNativeDriver: true,
      }),
    ]).start();
  }, []);
Our animation composition starts off with an Animated.sequence([...]), which starts its list of animations sequently, one after the other. Next we have an Animated.delay() that holds the animation still 200ms longer for each item down in our wish list. The Animated.parallel([...]) executes both the Animated.spring() and Animated.timing() simultaneously, which again scales the size of the item from 0 to 1 in 1000ms and moves its y-position from -1000 to its place. Lastly, the shake animation value is linearly driven from 0 to 1 in 1000ms.
The last step is to attach our animations values to our components with the transform value in the style prop. Both the scale and translateY are ready to be used, however the shake value needs one last adjustment. We need to transform the change in value from 0 to 1, into a change in z-rotation degrees. This is where interpolation comes in handy, as it solves this problem exactly:
const rotateZ = shake.interpolate({
  inputRange: [0, 0.1, 0.3, 0.5, 0.7, 0.9, 1],
  outputRange: ["0deg", "-4deg", "4deg", "-4deg", "4deg", "-4deg", "0deg"],
});
Finally, all three animation values can be put into work:
const transform = [{ translateY }, { scale }, { rotateZ }];

return (
  <Animated.View style={[{ transform }, styles.listItem]}>
    <Text>{item}</Text>
  </Animated.View>
);
You could argue that being this fancy might be to overdo it, however I think Santa will appreciate it over the simple fade-in animation 😊
4. Reanimated
In the last example, we take a look at the react-native-reanimated package. This package can do everything that Animated can, and even more, while still being notably more performant, even on low-end android devices.
Both Animated and Reanimated are written in a declarative manner, however, Reanimated also handles interactions/interruptions in the animations directly on the ui-thread instead of having to translate over to the JS-thread. If you want to add interactions to your animations with Animated, you either have to resets the animation, or wait until the animation is finished.
To showcase the intractability of Reanimated, I have one last example in our wish list. It could often be hard to prioritize which gift you wish the most for, so in the last example we add a button that lets you rearrange the list at random by changing each items order prop-value.
const translationY = useSharedValue(0);

useEffect(() => {
  translationY.value = withSpring((order[index] - index) * ITEM_HEIGHT);
}, [order]);

const transform = useAnimatedStyle(() => {
  return {
    transform: [{ translateY: translationY.value }],
  };
});

...

return (
  <Animated.View style={[transform, styles.listItem]}>
    <Text>{item}</Text>
  </Animated.View>
);
As you can see, it works in a very similar way to Animated, by declaring an animation value, declaratively changing the value (here with the withSpring method), and then creating the transform-style object to be injected to the Animated.View.

Pressing the button changes the order prop-value, which again animates the list as we expected! The beautiful thing about Reanimated is that we can interrupt the animation by pressing the button and changing the order again halfway into the animation. The library will then automatically start to animate to the new position, while keeping the items current speed in mind, so that the animation changes smoothly. Spamming the "Mix it up!" button show the items dancing around in a smooth manner, something which would not have been possible with Animated.

One last mention about Reanimated is that it couples extremely well with the react-native-gesture-handling package. Combining these two allows you too smoothly animate your components across the screen and still react to changes in gestures, like when they start or stop, or even running fine-tuned logic when the position or momentum changes.
What have we learned?
To finish this article, here is a summary of when to use each different type of animation method:
- Use Lottie for static loading animations or as a fun way to indicate success (or failure)
- Use LayoutAnimation to easily add simple animations to components where you know you have control over your re-renders
- Use Animated to compose your own set of animations that are ment for some specific components only
- Use Reanimated when your animations can be interrupted midway by the user, or if the animation is dependent on gesture handling
Now it is time for you to impress Santa with your animated wish list! 🎅