Swift UI is very simple to learn. If you already know some HTML or react-native, it is even easier.

This article will go through the auto-generated file in a new Swift UI project and look at the most basic things you need to get started creating views (screens) in Swift, just like you do in html + css on a regular basis.
The Swift UI "Hello World"
When creating a new Swift UI project, this file is created for you. It has a single struct called ContentView that implements View
import SwiftUI

struct ContentView: View {
    var body: some View {
        VStack {
            Image(systemName: "globe")
                .imageScale(.large)
                .foregroundStyle(.tint)
            Text("Hello, world!")
        }
        .padding()
    }
}
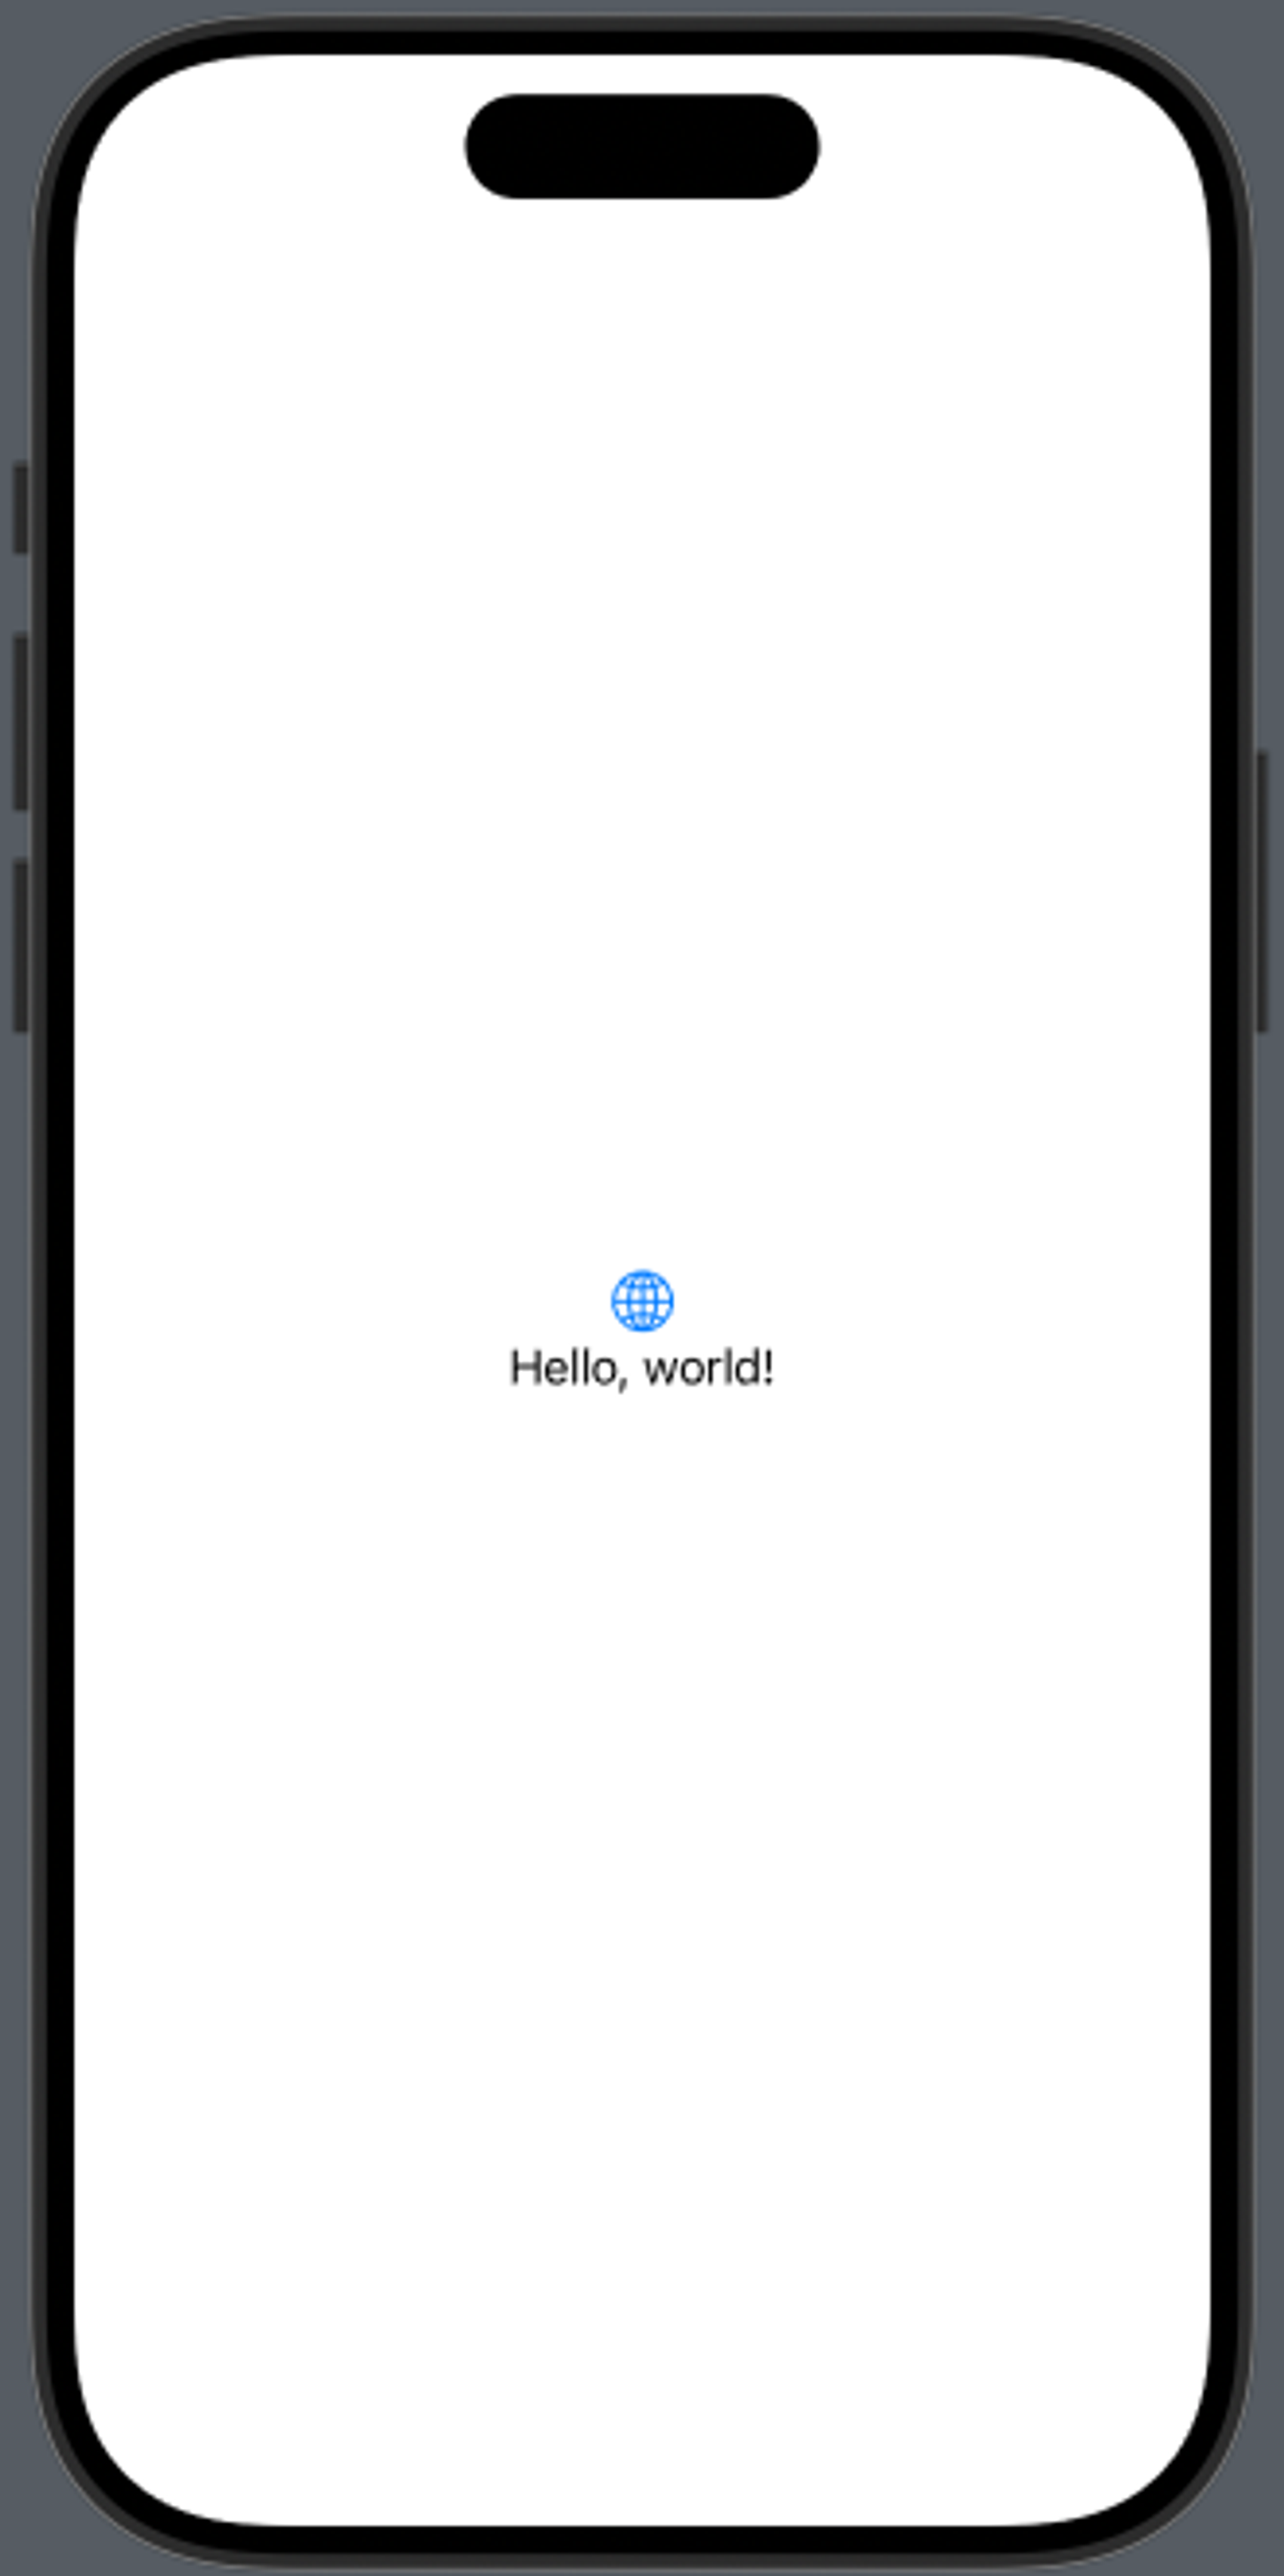
It looks like this

A View is sort of "some content that will be rendered on the device screen". I like to think of it as a div in HTML. A View can contain any number of Views inside it, so you can put a View in a View just like you can nest divs in HTML.
Whenever you create a view in SwiftUI it must have a var body: some View – this is what is rendered to the screen.
In our case, our View (body) contains three things:
- a
VStack - an
Image - a
Text
Ignore the .imageScale, .foregroundStyle and .padding for now.
Let's break these things down.
VStack, HStack and ZStack
The VStack is itself a View, which renders children in a vertical column. Its HTML equivalent is a div with the css below.
.div {
  display: flex;
  flex-direction: column
}
SwiftUI also has provides an HStack and a ZStack. They do the exact same things, except positioning in the horizontal direciton, or on top of each other (on the z-axis).
In the image below I changed the VStack to an HStack
struct ContentView: View {
    var body: some View {
        HStack() {
            Image(systemName: "globe")
                .imageScale(.large)
                .foregroundStyle(.tint)
            Text("Hello, world!")
        }
        .padding()
    }
}
Image and Text
Image(systemName: "globe")
  .imageScale(.large)
  .foregroundStyle(.tint)
Text("Hello, world!")
You have probably guessed it already but the Image and Text renders Images and text into your views. SwiftUI comes packed with a bunch of icons (that can be viewed in the sf-symbols app). To put one of them in your View you simply type its name inside an Image in the systemName: parameter.
Styling views - viewmodifiers
We have now breezed past the first Views you'll encounter in a new SwiftUI project. The last thing thing left untouched in this ContentView are its viewmodifiers
A View can be styled using viewmodifiers. The trailing .(foo) after the Views, are modifiers that alter the views. .padding() applies a set amount of padding on a View. There are many viewmodifiers that come packed with Swift UI, but you can also construct your own to reuse on any View throughout your project.
Still curious about SwiftUI?
If you have a Mac, I suggest starting your next project aimed towards mobile in SwiftUI rather than your typical webapp / cross-platform framework. I went from a react-native approach on my hobby-projects to SwiftUI. The visuals you get out of the box from Swift UI are quite pleasing, and it is very quick to learn if you come from a react-native background.